Bonjour! I’m so excited to share a glimpse of a special project I worked on over the weekend with Shop for Jayu! When Sally asked Marla, Angelic, and I to a part of Shop for Jayu’s Fall/Winter 2014 look book, I was beyond ecstatic. The most exciting part about this project was not only being able to work with a super talented team of creative people, but Sally also wanted each one of us bloggers to create our own concepts and incorporate elements of our style and blog into each shot.
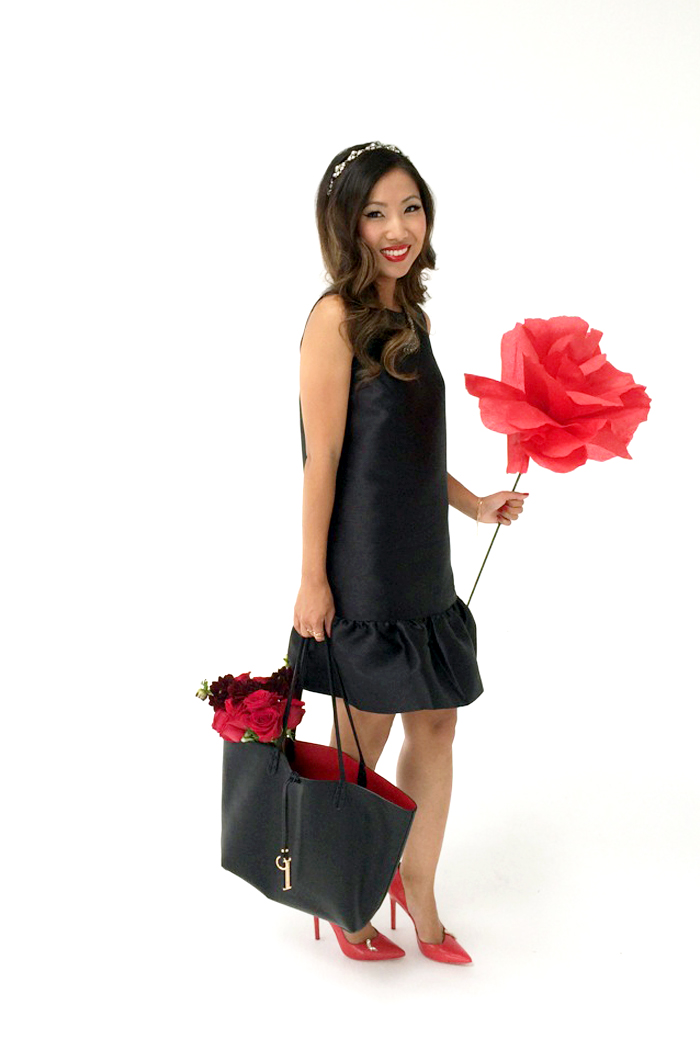
Of course my main focus was to include a fun DIY project for each of the looks. Sharing with you today is one of my three conecpts – “Romantic Rose Garden”. I really wanted to keep everything simple, but exaggerate the shot with this DIY giant crepe rose, creating a surreal romantic moment. I’ve seen this paper flowers many times, and have always wanted to make a giant one, this was the perfect opportunity.
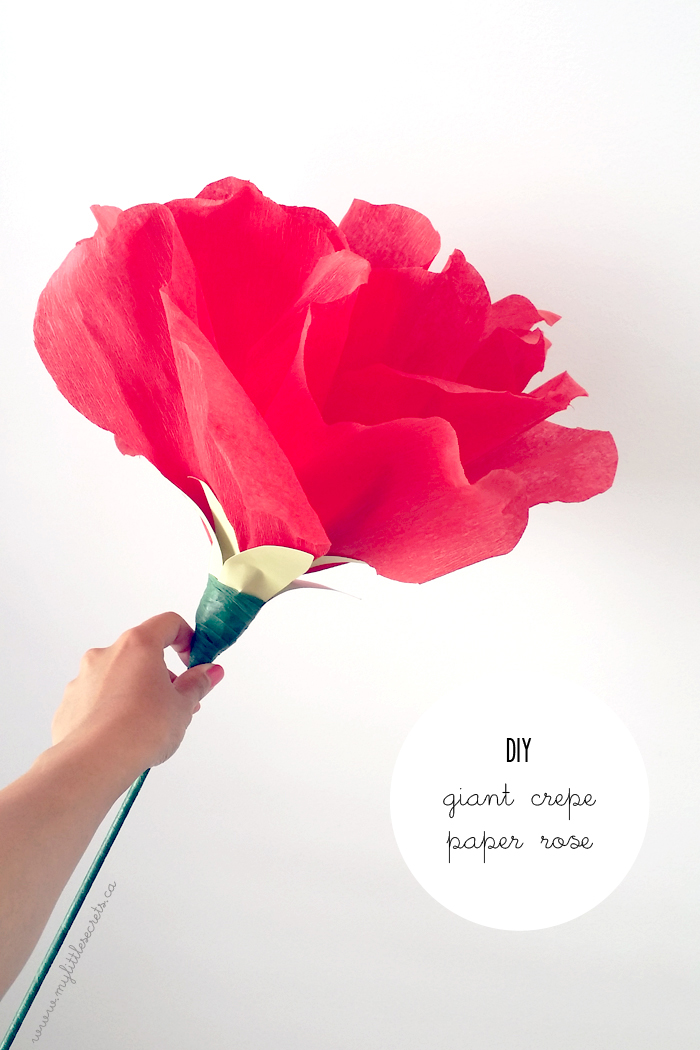
This DIY giant crepe rose only requires a few items and the end product is gorgeous. What do you think?
(tutorial originally found on Martha Stewart but adapted by me)
What you will need:
- Crepe paper, double sided preferred. One package makes one giant flower
- Thin cardstock in green for the calyx
- Flower Template (can be downloaded here), enlarge to 200%
- Scissors
- Pencil
- Floral tape
- Floral wire or thin wooden dowel (can be found in any craft store)
Step One: Trace Template
Download the floral template above, enlarge to 200% and print it out. I actually traced it by holding a piece of paper over my monitor screen because my printer ran out of ink! It works just as good. Cut out the templates and set aside.
Step Two: Cut Petal Shapes
Place the teardrop shape template over the crepe paper and cut out 5 teardrop shapes. I folded two layers, cutting two at a time. Repeat the same steps using the heart shape template and cut out 15 heart shape petals.
Step Three: Prep Stem
I purchases a really thin and long wooden dowel from the craft shop and decided to use this as my stem. It seems to be sturdier and less work then using floral wires. To prep the stem, wrap it from top to bottom with floral tape.
Step Four: Build Rose
Before you start building the rose. Take your petal pieces and stretch them out from the center to the edges, also curl the left and right sides back with a pencil. This is what gives it a petal effect. When you’re ready, start building the rose by taking one teardrop petal and wrapping it around the stem and secure by wrapping flower tape at the base. Repeat this with all the teardrop petals. Continue to build the rose by placing each heart shape petal around the ‘bulb” you have created and secure each with floral tape.
Step Five: Cut Calyx and Attach
Trace the calyx template onto the green card stock and cut. I decided to use card stock as I found it sturdier and helped the petals stay upward. Wrap the card stock around the stem and secure with floral tape. If you need to cut the calyx into pieces, feel free to do so before securing.
Step Six: Finishing Touches
Adjust the petals and curl the edges with pencil to achieve the desired look.


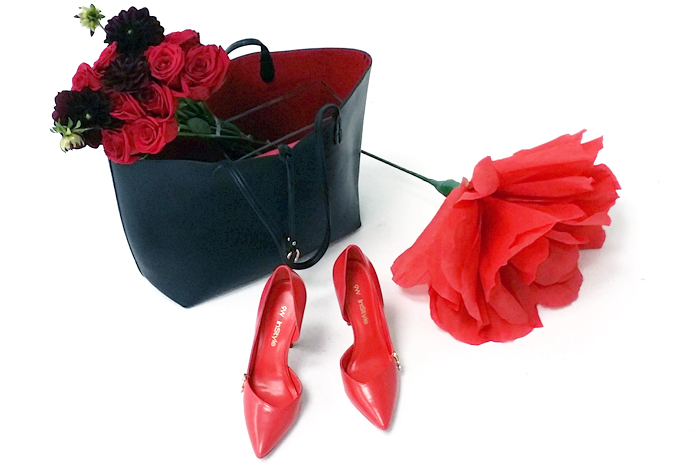
Wearing: Kate Spade Dress / 9WInstyle GAMIN heels / Jewelry c/o Shop for Jayu FW collection available in early August (necklace as headband, ear cuffs as shoe clips, and statement necklace) / Reversible Tote by Shop for Jayu available early August / Mink Lashes c/o Evermore Lashes
Credits: Makeup by Hey Jolie / Hair by Allison Kam / Florals by DeLight Floral Design / Photography by Artiese
I had so much fun working with the entire team and can’t wait to share the final look book with you all. You’re going to love the other two concepts!
Remember, all you lovely readers get an extra 15% off discount when you shop on Shop for Jayu with my exclusive promo code “SECRET14”. Their Fall collection is amazing! You can see more sneak peeks on my Instagram!

