Hello! I can’t believe how quickly our wedding is coming up! With just 3 months away, it means major crunch time! A very important task for us to tackle this month is sending out our Wedding Invitations!!! There are so many beautiful and inexpensive options out there but we opted for a custom design. I met Sarah of Love Love Me Do months ago and had my heart set on working with her on a custom design (oddly enough, Sarah is getting married on the same day as us!).
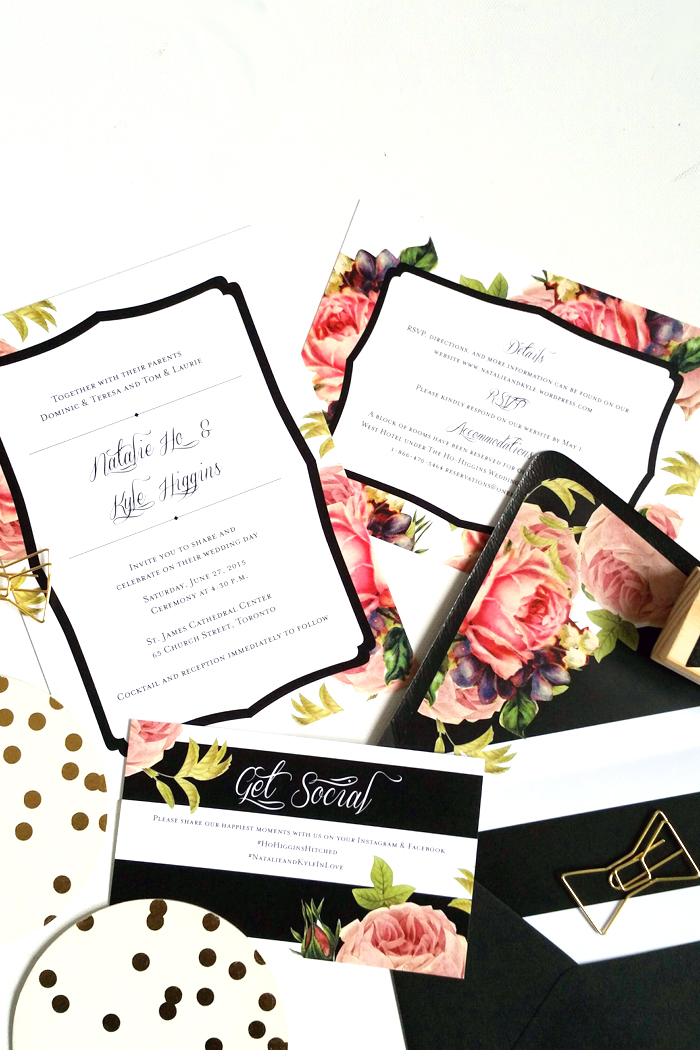
Our invites have been in the works for a while and I’m super excited to finally share our final product with you! I hoped for a design that combined modern with classic as well as femininity with a touch masculinity, I truly believe we hit the mark and happy to see my vision come to life.
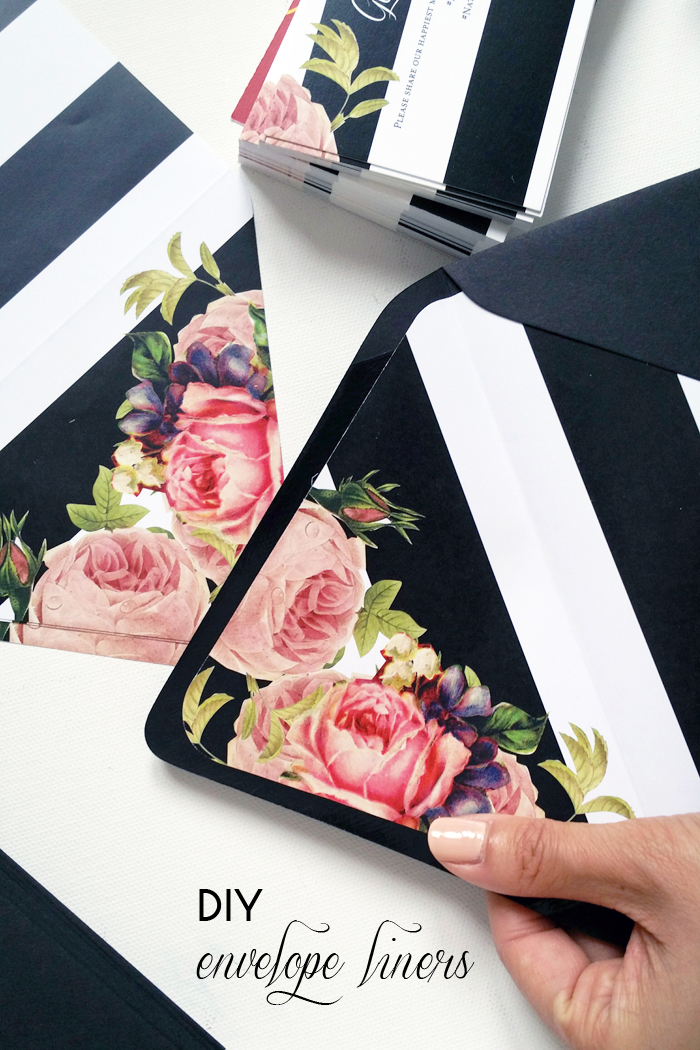
One special feature we tackled were decorative envelope liners. I am obsessed with them! Although it added some extra time to the assembly process, it was well worth it.
Plus, how could I have possibly gotten away with not DIYing ONE item for our wedding invitations?! Read further to learn how to create your own wedding invitation envelope liners.

There are a few ways you can create your own envelope liners. If you’re skillful with a graphics software, you can create your own design, scale it and print it to size. However, if you’re not feeling too confident and want to save some time, I recommend purchasing a ready to print envelope liner downloadable file. Good news, if you’re loving my design, you can find the instant download file for purchase here.
DIY Options:
Once you have your envelope liner file, you’ve also got a couple of options:
1) 100% DIY (See photo below) = Print them, cut them, and glue them manually yourself. This is the most cost effective but labor intensive option. Also, you’re likely compromising on quality.
2) 75% DIY = Get them custom printed to shape and size at a local printer and proceed to cutting and gluing them yourself. Again, likely compromising on quality.
3) Smart DIY (I opted for this option) = Get them custom printed to shape and size at a local printer, but also ask them to apply a sticker adhesive to the backing of the flap part only. This will both ensure speed and quality. However, be prepared to spend about an extra $0.50 – $1.00 each, depending on what type of deal you score.

Step by Step:
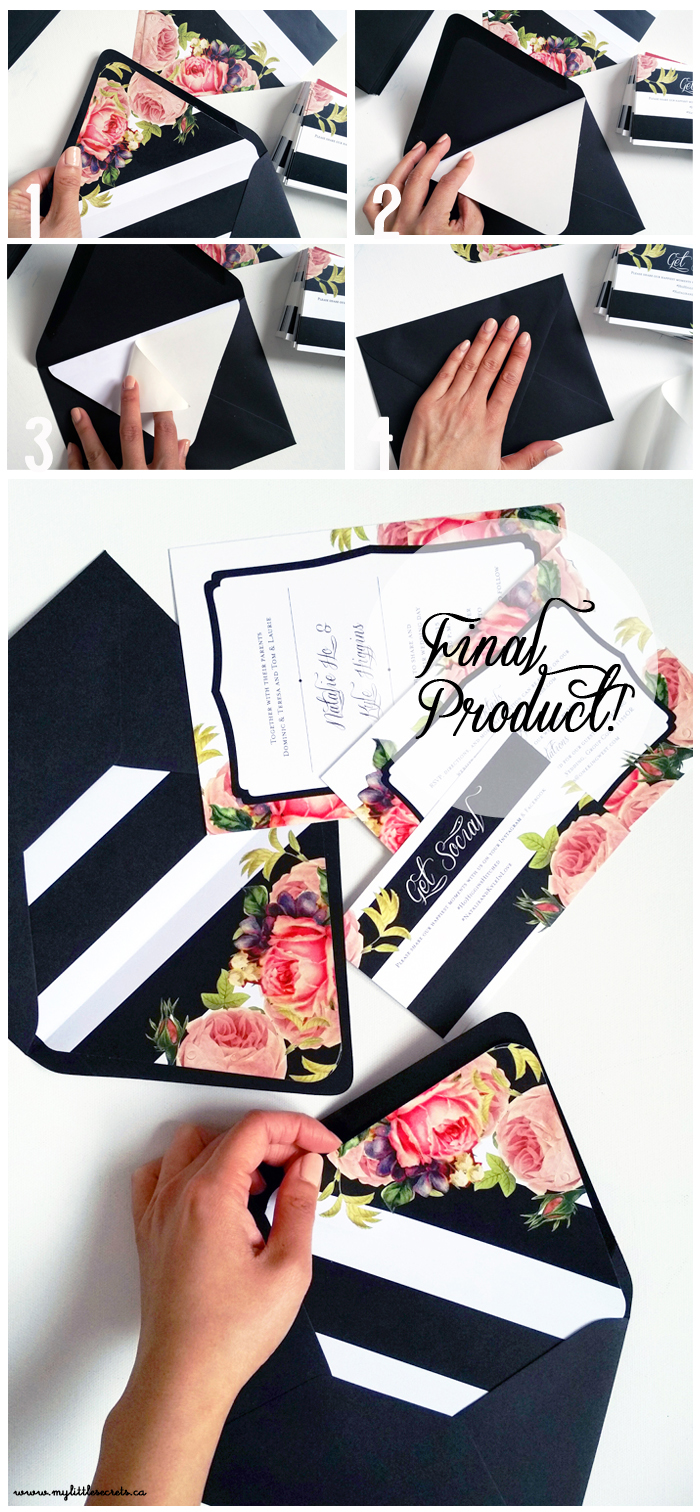
1) Insert the pre cut envelope liner into the envelope. If cut properly, the bottom edge of the liner should stop at the bottom edge of the envelope.
2) Fold down the flap of the liner to create a crease. This should also be the edge of where the sticker adhesive ends.
3) Slowly remove one corner of the sticker adhesive backing.
4) Press the envelope flap down, and gently remove the adhesive backing.
I can’t wait to mail and hand deliver these bad boys! For those of you who want to opt for a simple wedding invitation but still want to add some punch, I urge you to consider an envelope liner. They are beautiful and the design opportunities are endless! You can go with florals, polka dots, stripes, your own monogram or even a photograph of you and your fiance!!
I hope you enjoyed this Wedding DIY, feel free to ask me any questions by commenting below, I promise to answer them!
For those of you interested in shopping my custom wedding invitation design, please visit the Love Love Me Do Etsy shop. Sarah is also happy to create a custom design for you!
Enjoy your week and more wedding updates for you soon!


12 comments
This is so cute! Thanks for sharing
These are gorgeous! I love them! Sometimes I wish I could get married all over again, because there are so many beautiful ideas out there. Where did you get that bowtie paperclip!?
These are absolutely gorgeous!! I’m loving the floral and b/w trend right now. So good.
Thank you so much Kristie!!! I am so happy with the way they turned out, now fingers crossed the big day’s vision will also come to life as planned!
xo Natalie
This is so pretty! I love the combination of the bold stripes with the soft florals!
Jennifer Ashley
http://www.prettylittledetails.ca
Hi, I was wondering what size the DIY flower sheet was. And what program do you use to make your designs? Thank you (:
Hi Melissa! The envelop size is a A7 euro flap, therefore, it was a A7 sheet size that we used and adjusted to fit – you will want to play around with a few samples first! You can essentially use photoshop or illustrator to create your design. I hope this helps!
Natalie
These are absolutely beautiful and such a nice touch to add to your wedding invitations. With this much attention to detail, I’m sure your wedding day will be remarkable.
Sonja – visiting from http://www.sustainmycrafthabit.com
Love this idea, I’m totally into envelope liners too. Love the unexpected detail! Just wondering what company you went to for the smart DIY option. There’s a wrapping paper I love that I want to do this with but I’m also conscious of my timeline with all the DIY projects we have on the go.
Hey Jasmine, I’m so glad you like these!! I went to a local paper and printing company called “Paperland” – they are located in Markham. If you bring the file to them and explain what type of application you’re looking for, they can get it all printed for you!
Good luck and congrats!
[…] 7 – DIY Wedding Invitation Envelope Liners – The flowers can be the surprise lining your invitation envelopes. See how to DIY this delightful detail via My Little Secrets. […]
[…] 3. Tutorial από mylittlesecrets […]