It’s incredible how quickly time flies, isn’t it?! We are now officially stepping into the last two months until our big day and holy smokes, I’ve still got lots to do! The good news is, we managed to check many items off the list since I provided a detailed update in my last post, and I’m happy to once again share with you our progress. We definitely accomplished some big tasks in the last few weeks, and though there’s more to go, I’m also feeling relieved!
Keep reading further to see my list of accomplishments and some tips to keep you on track on your wedding planning!
1) Wedding Invitations
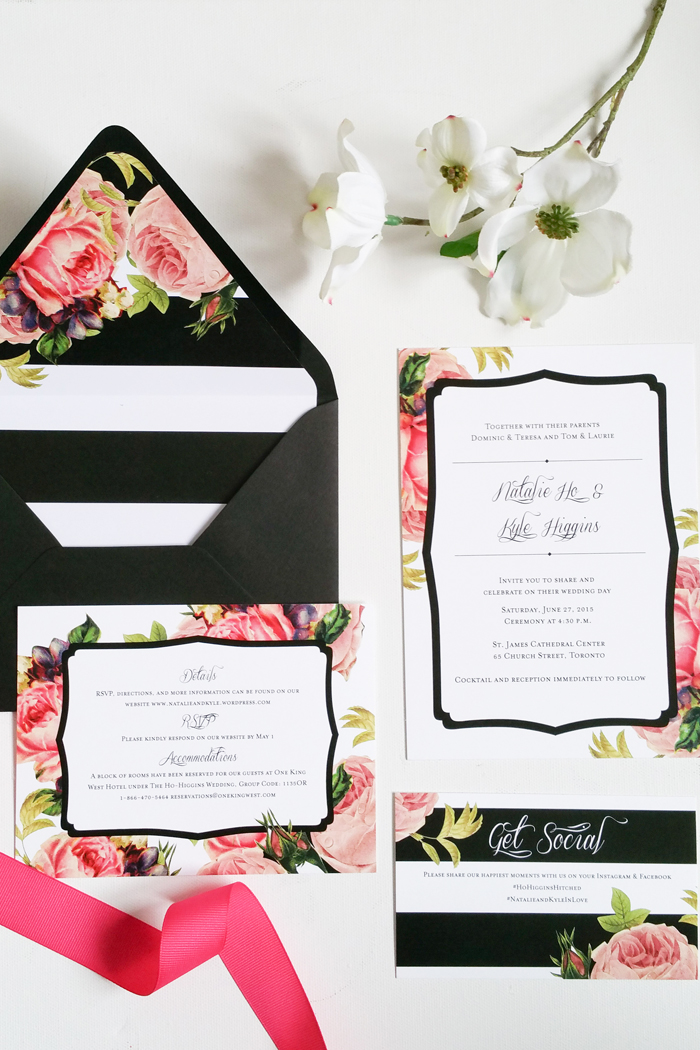
Complete! Our beautiful invites designed by Love Love Me Do were printed, assembled and delivered! I am so happy how it turned out. The creation process wasn’t a challenge at all. The trickiest part came down to figuring out all the different variations of invitation cards we had to print, i.e. ceremony and reception invitations vs. reception only vs. announcement only, etc. I ended up printed extra quantities of each and glad I was more conservative. I printed my invitations at a local print shop and it saved me some money, I would highly recommend this option if you feel comfortable with this. A little trick that my printer also taught me was doubling up on the cardstock. We printed on a thinner card stock in order to save on laser printing rather than letterpress, then added a glued backing to achieve a thicker weight result. If you’re interested in learning how the envelope liners were made, be sure to read my post on DIY Envelope Liners.
I also researched a number of options in terms of the proper etiquette to address the envelopes. There are many options and we went with a more casual approach by stating all guest names. I also wanted to point out that since our envelopes were black in colour and I was worried that the post office would have a hard time processing white handwriting, I decided to also use an exterior mailing envelope with printed labels. This option both preserved my handwritten calligraphy and also reduced the time by printing full address on labels. A little bit of extra work but well worth it.
2) Wedding Bands
Complete! I clearly can’t show you what these look like just yet, but can’t wait to share photos of our wedding bands! We ended up going to the jeweler that Kyle purchased my engagement ring from. In terms of budget, we really wanted to keep it at a reasonable amount. I highly recommend discussing the budget for your wedding bands BEFORE heading to make your selection. There are so many options and prices range dramatically, especially depending on the metal. Deciding between 10K, 14K, 18K gold, and platinum will vary, and best to stick to your pre-established budget. Now, just a teaser, we ended up with rose gold bands!
3) The Legal Stuff – Liquor License, Venue Insurance, and Marriage License
Done, done, and done! We spent the last months working on the fun stuff, we finally got around to the legal stuff! Well to be honest, we couldn’t tackle these items until 3 months to our wedding date, so even if we had the time, we had to wait. If you’re planning your wedding at a naked venue space (i.e. BYOB, rentals and food through caterer), be sure to research and make sure what types of permits you need to apply for. In addition, many venues also require Event Insurance to cover for liability the day of the wedding, be sure to arrange for the appropriate liability insurance ahead of time, this will need to be supplied to your venue.
Lastly, a Marriage License is required prior to the wedding ceremony! Be sure to work with your officiant (or similar) to obtain the documents required for the big day! In Toronto, you can fill out the application online and visit City Hall to obtain your official Marriage License.
4) Wedding Dress Fittings and Veil
In Progress! Finally was able to bring my dress in for my first fitting! I had brought my wedding dress home months ago and has been sitting neatly in my closet, it was suggested to bring my dress in for the first fitting two months prior to the wedding. To be honest, because the dress was still quite big on me when I brought it home, it was tough for me to envision what it would actually look like fitted. So glad to say that I’m one step closer as I’ll be swinging in for my second and final fitting later this month! I can’t wait to see the dress hug my body!
Notes on alterations. You’re not required to alter your dress at the bridal salon you purchased from, but I did opt for this option. Primarily due to the fact that if something went wrong, the salon would guarantee a replacement dress. Definitely something to consider if you’re ok with spending a little bit more than going outside for alterations. Also, I skimmed down quite a bit on my alterations, the first quote passed onto me came to nearly $500 and I was happy that I gave up on a couple of details that saved me nearly $200. For example, I opted out of bustles, these cost a merely $30 each and I needed 5! Since I’m changing (twice!), I decided to forego the bustles to stay within my budget.
5) Hair and Makeup Trials
In Progress! Booking hair and makeup trials are important. You want to make sure you can test out the hair or makeup style you want to achieve on your big day! I’ve booked these appointments and was lucky enough to arrange my makeup trial on the same day as our upcoming engagement shoot (which also happens to be my birthday!) and the hair trial for my bachelorette party! Since these trials do cost money, it is wise to try to schedule them for a special event!
6) Bachelorette Party Gifts
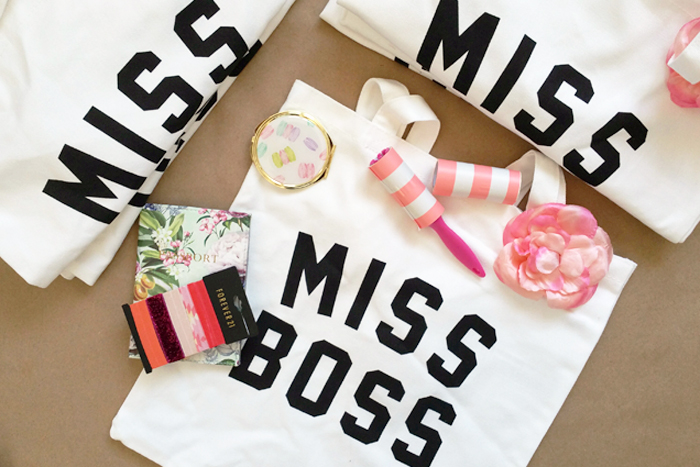
Complete! I’m so grateful to have a group of girlfriends that are accompanying me to Miami for my Bachelorette party! Since they’re taking time out for this mini-vacation, I thought I’d say thanks by surprising them with a fun Bachelorette loot bag! Hey, who says loot bags are only for kids?! There are some very inexpensive ways to pull together a super cute and awesome loot bag. The total cost of each was less than $20. I found most of these items from Forever 21 so excited to surprise them with these at the airport!
To build your own, consider these items: MISS BOSS Tote Bag (only $5.00!) / Travel Lint Rollers / Hair Ties (sold out but similar) / Floral Pin / Macaron Compact Mirror / Floral Passport Holder
7) First Dance Wedding Classes
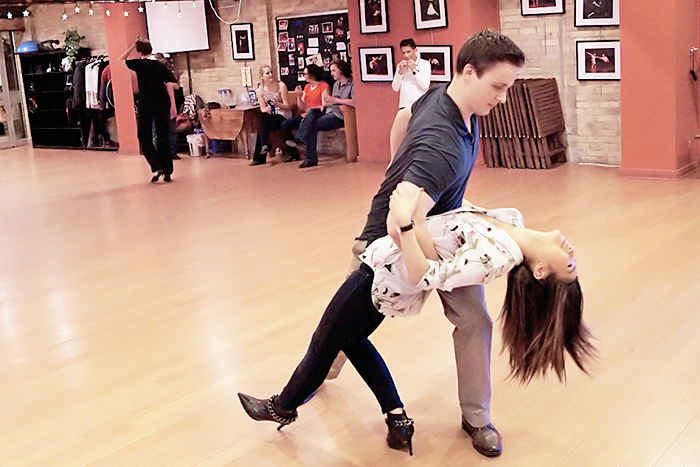
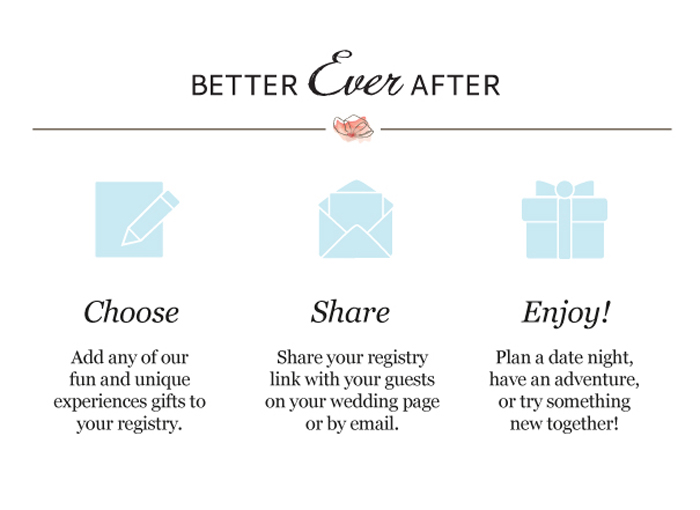
Done! We didn’t plan to get dancing lessons for our first dance, but when Better Ever After offered to treat us to a lesson at the Joy of Dance, we couldn’t pass it up! I introduced Better Ever After back in October when I chatted about choosing the right type of wedding gift registry. Better Ever After is an Experienced Registry focusing on gifting the soon to be wed couple with “experience” gifts. This is such a fantastic idea! Dancing lesson was the experience we selected and we had so much fun, not to mention, we were able to dance to our entire first dance song!
For those of you who are either looking to purchase a gift for the couple, I highly recommend checking out Better Ever After – experiences range from cooking lessons, dance lessons, or an outdoor kayak adventure. Now, if you’re planning to have a first dance at your own wedding, seriously consider taking some dance lessons, it will not only wow your guests, but it is such a fun date for you and your fiance pre-wedding. Kyle had such a great time, and he led me through our dance the entire time! A special thanks to the Joy of Dance team for turning us into instant dancers!
I’m sure I missed a few more accomplishments but I’ll be sure to check in next month as I crack the whip on our outstanding to-dos which include:
- Final Decorations
- Seating Plan/Charts
- Day of Schedule
- Rehearsal Dinner Plans
- Engagement Photos
- Ceremony Details
- Speeches, and Vows
- Song List
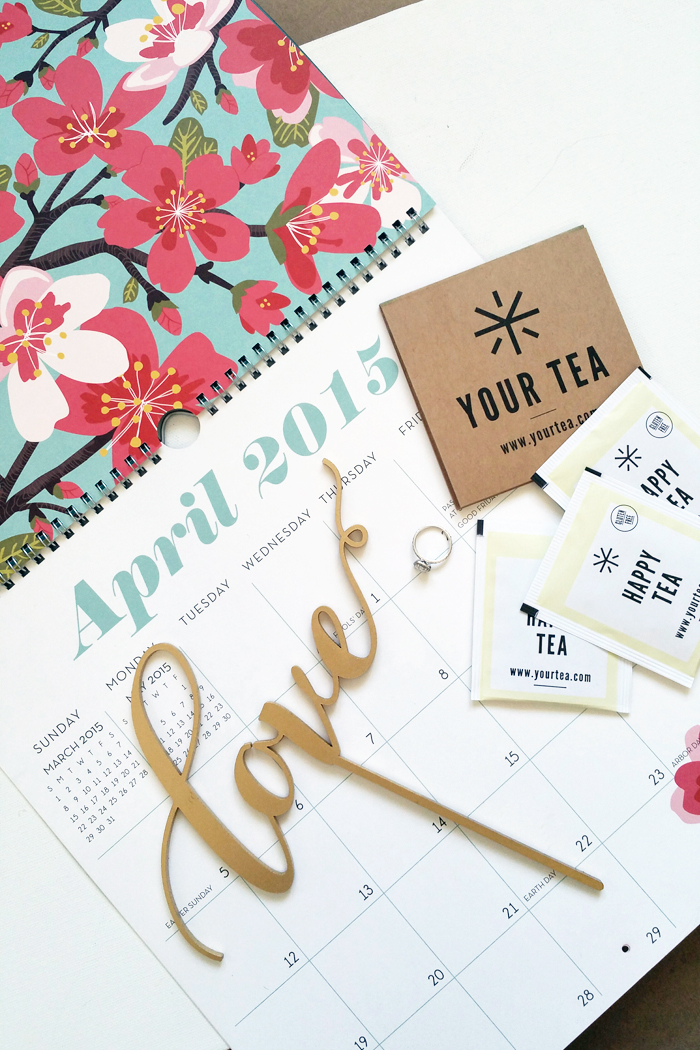
Of course, if you’ve been following along, my Happy Tea by Your Tea is still keeping smiles on me, especially as I’ve been battling a cold and also finishing up my juice cleanse. This organic, caffeine free, and gluten free Happy Tea have been incorporated to my daily diet. I guarantee you’ll love the scent and aroma from the chrysanthemum, barbary, and wolfberry fruit. A box of 40 tea bags costs $25, well worth it.
Signing off for now as I head to Miami with my lovelies!

3 comments
What a great picture of you two at dance class! The wedding is going to be beautiful; so excited for you! Let us know how Miami went 🙂
I really enjoy your blog. I have a question for you. I also want to use black envelopes. Are you saying that you enclosed your black envelope inside of a white envelope with printed labels?
Hey Tiffany! Thank you for your comment! And yes, that’s exactly what I did! So I handwrote the black envelope with fancy writing and then stuffed them into labeled white envelopes for mailing!
Best of luck! And happy planning!
Natalie