It’s been sometime since I worked on a home DIY project. I’m extra excited about the reveal of today’s project! I hope you guys really like it! I was asked to participate in an fun Varathane #LoveYourWood challenge alongside 9 other talented bloggers to show just exactly how creative a can of Varathane wood stain can get.
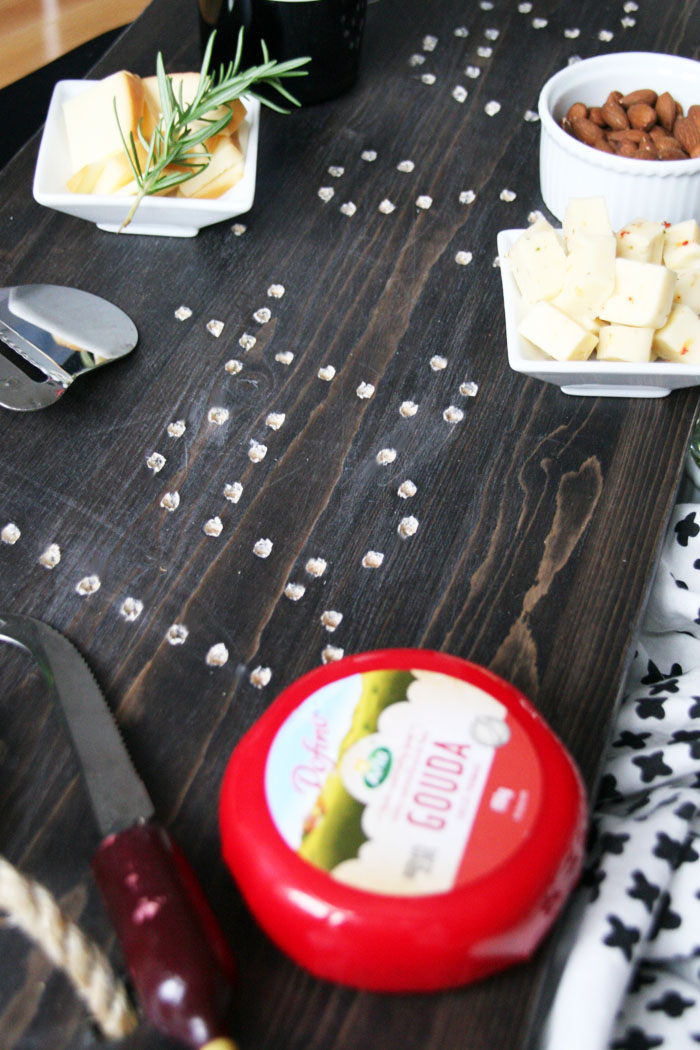
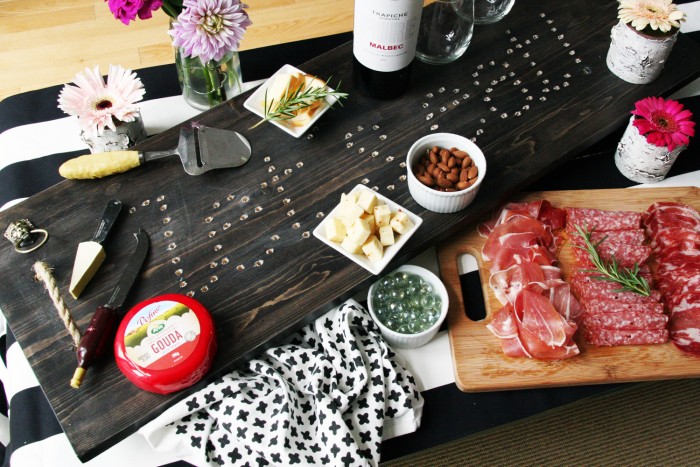
We were tasked to create an original wood project using a surprise box of items and a can of wood stain. I obviously couldn’t turn down the challenge! After racking my brain for days, I finally came up with the idea of creating an oversized, moveable charcuterie board! Charcuterie boards and tables are fabulous, but sometimes, those things can be so elaborate and hard to move around from one end to the table to the other. Therefore, I added an element of function by securing small caster wheels to the bottom of my creation! In addition to amping up the functionality, I also wanted to add an extra element of design. Inspired by lit up marquee signs, I drilled holes through the board to create the illusion of a lit up marquee sign – thoughts!?
I hope you like this DIY oversized moveable marquee sign charcuterie board!
I’d really appreciate if you can cast a vote for me on the Helping You Finish Facebook Page to help me win a grand prize of $2500 and YOU can win Varathane Prizes too! I promise I will share bigger and even better DIY projects in the future!
- A piece of wood to the size you desire (mine was about 4 ft long, 1.5 .ft wide), I also used a finished pine
- A drill and drill bits
- Sand paper
- 4 caster wheels
- Varathane wood stain, I used the Ultimate Wood Stain One Coat Coverage
- Varathane wood finish, I used Triple Thick One Coat Clear Finish – important disclaimer, if you want to put food items onto the board directly, please use a food safe stain!

Steps:
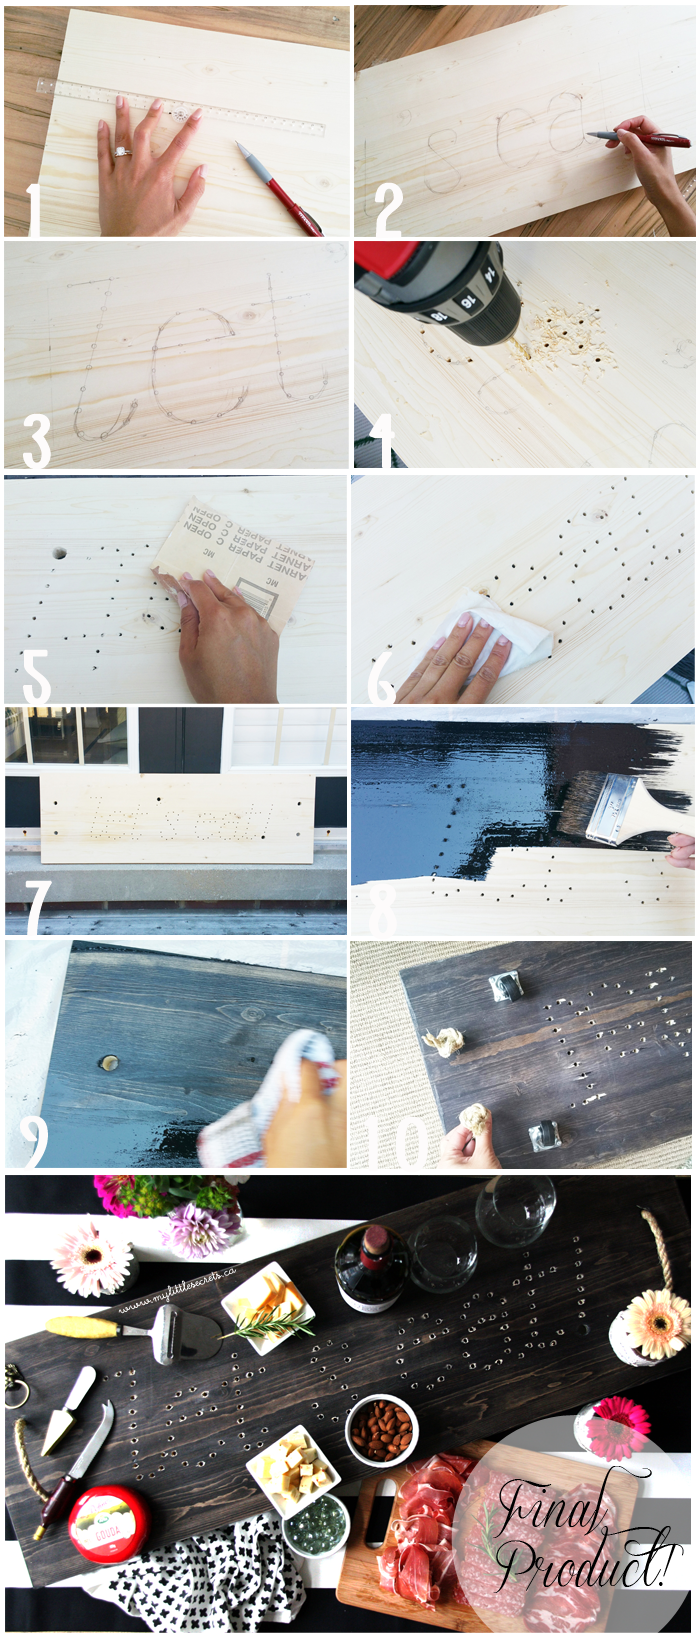
1. Measure and mark the positioning of your phrase / 2. With a pencil, trace out the letters, I free hand, but a stencil may also help / 3. Mark the drill marks / 4. Follow the instructions for your drill and carefully drill through the board /5 . Sand down the drill shavings / 6. Wipe with a damp cloth to clean the surface back and front / 7. Set aside to dry slightly / 8. Apply the wood stain by following instructions on the can / 9. Wipe excess stain off with a dry cloth and finish with a clear protector gloss. / 10. Affix caster wheels and other optional elements!
TIP: I recommend re-drilling the holes again after you apply your wood stain before protecting with a clear stain. This works really well with darker wood stains to allow the lighter wood color to penetrate through!


Voting Details:
Visit the Helping You Finish Facebook Page and vote for my project! You can vote once a day and voting begins August 11 at 2:00 p.m. EST and ends August 31 11:59 p.m. EST. You can also win a Varathane Prize Pack by just voting! I’d really appreciate it!!!!!
If you love the project! Please be sure to pin it!


5 comments
Looks great! I hope you win 🙂
Beautiful pieces! I’d love to win!
Wow such a great idea! Good luck 😉
Hugs, Jamie
Thank you Jamie! Very much appreciate the comment!
Natalie
[…] Photo: My Little Secrets […]