I love using Sharpie markers in my DIY projects. They are so versatile and come in so many different colours, felt tip sizes, and can be drawn on countless materials and surfaces. With the fresh start of 2017, I’ve got my mind on setting goals and planning out the projects and accomplishments I want to tackle this year. My home office is where I get a lot of head-down work done but it’s also where I’m most inspired.
To kick off the year, I thought it’d be the perfect time customize some new notepads and desk accessories with the help of the limited-edition Sharpie Color Burst Permanent Markers. I used a simple water colour technique with the Sharpie markers and the results were fabulous!
Keep reading to see how you don’t need to break the bank to get a new set of cute and fun desk companions!
What You Will Need:
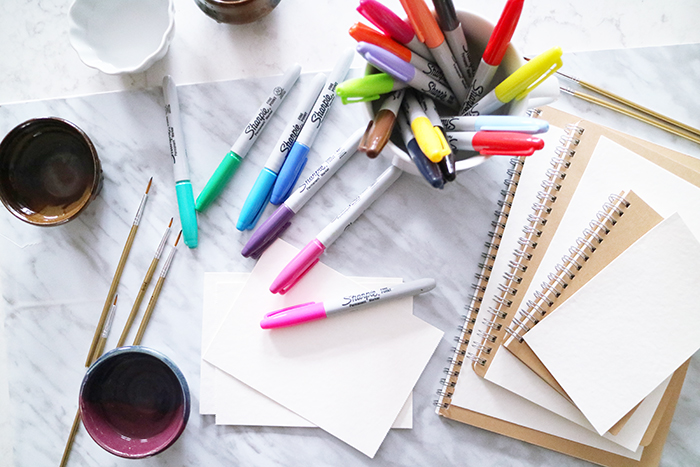
- Limited-edition Sharpie Color Burst Permanent Markers in fine point and ultra-point – retail for $5.99 (5 pack) and $28.99 (24 pack)
- Paintbrushes
- Small containers for water
- Card stock or Sketch Pad made for painting
- Assorted plain note pads, journals, etc.
- Scissors
- Glue Stick
- Other Desk Accessories (optional) – plain catchall tray, pen holder (mugs), cork board
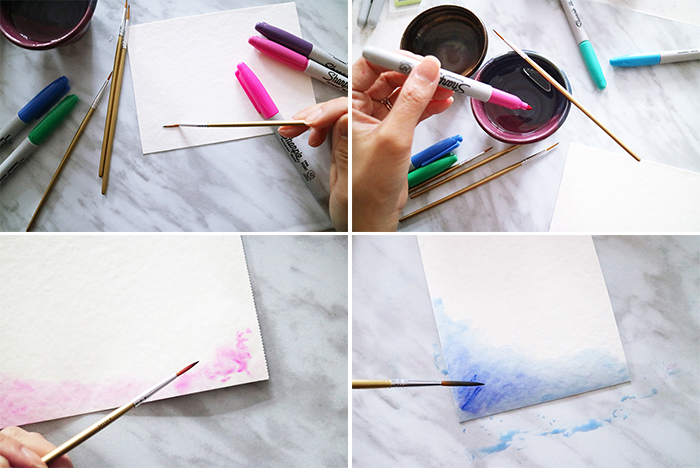
Sharpie Watercolor How-To:
- Have your paper ready cut into its desired size. I recommend using card stock or a sketchpad that is made for painting.
- Start by wetting your paint brush and painting water along the bottom edge of the card stock or however you like you design to look.
- Dip the Sharpie marker into the water and start dabbing the color onto the paper. I used the brighter color as the water will be used to dilute into a watercolor effect. I recommend trying on a test piece of paper first.
- Use the paint brush and continue to brush over the marker color.
- Repeat these steps to achieve the desired effect. Try also layer colours for some added fun!
- If you’ve applied too much water and the paper is starting to crumble, remove the excess water with a paper towel, let dry before you continue.
I used my Sharpie watercolour creations to customize a few plain note pads by simply gluing the card stock on top. I then used a black ultra-fine Sharpie marker and marked the cover with some handwriting.

I even created a desktop calendar with each month drawn out on each card stock!
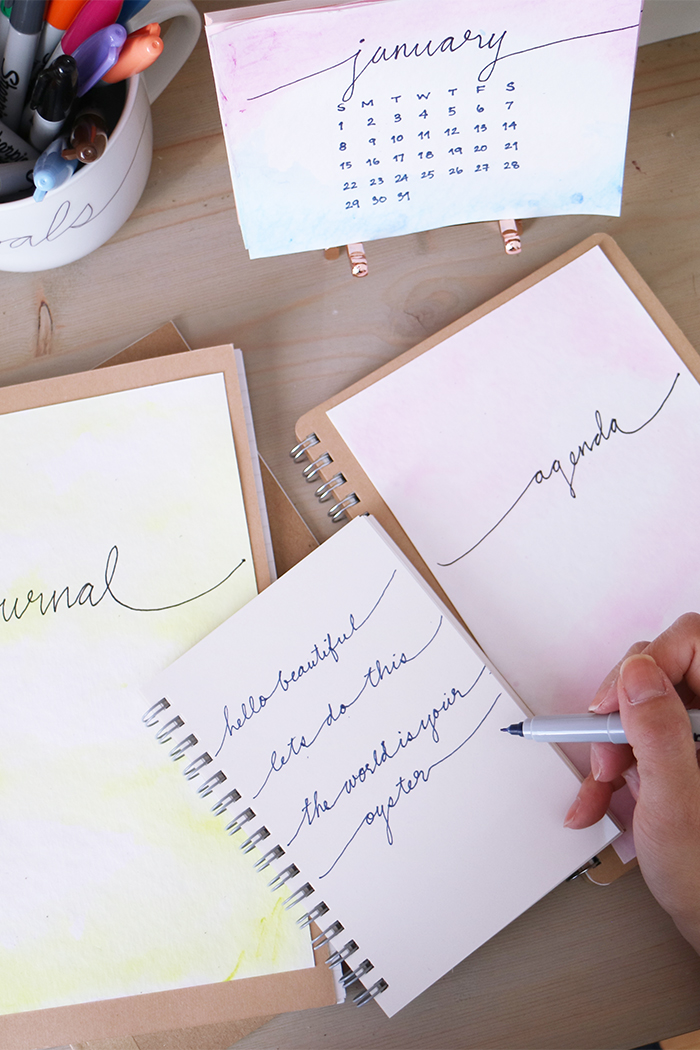
I even created a desktop calendar with each month drawn out on each card stock!
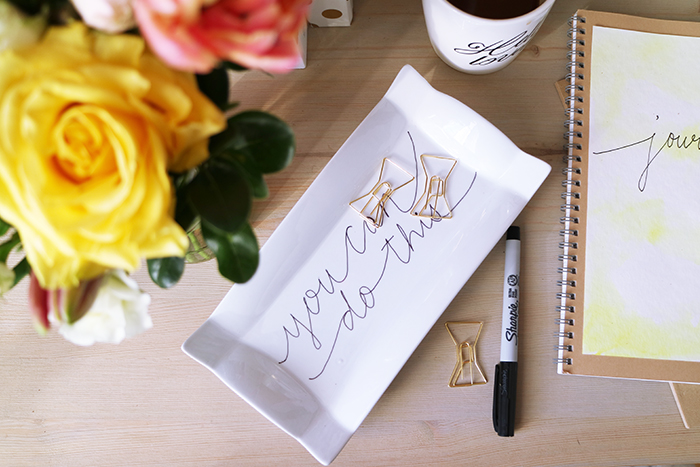
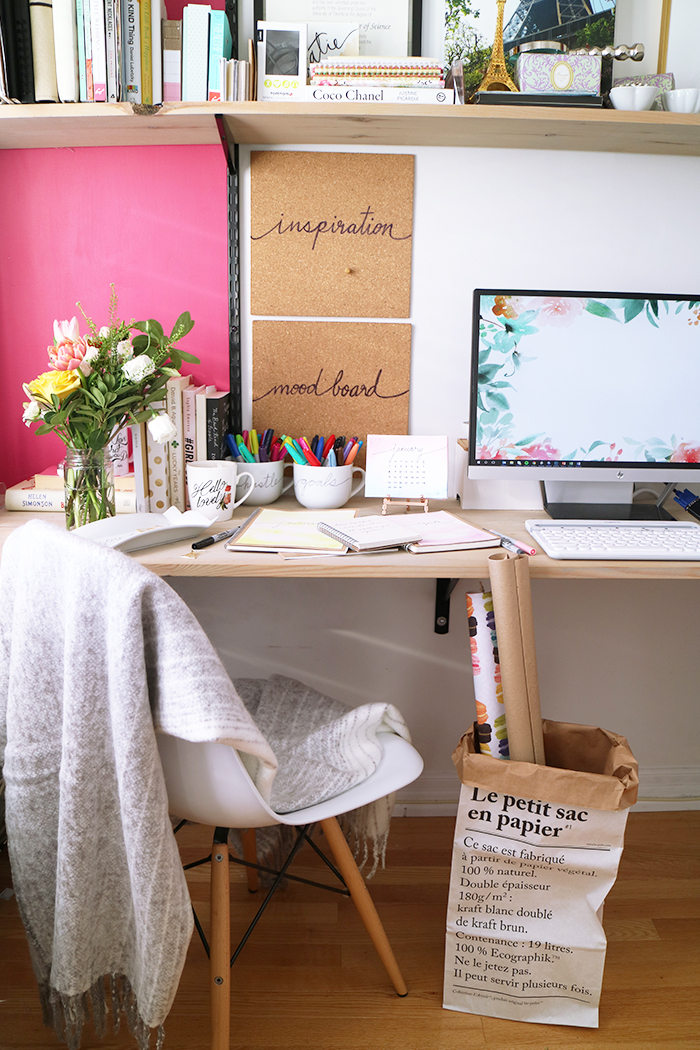
Another simple idea to personalize your desk accessories is to draw on ceramic wear such as a tray to hold assorted items or mugs that can be used as pen holders!
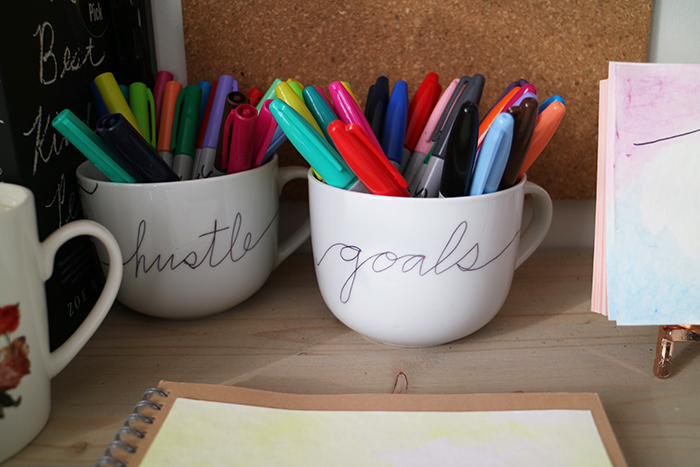
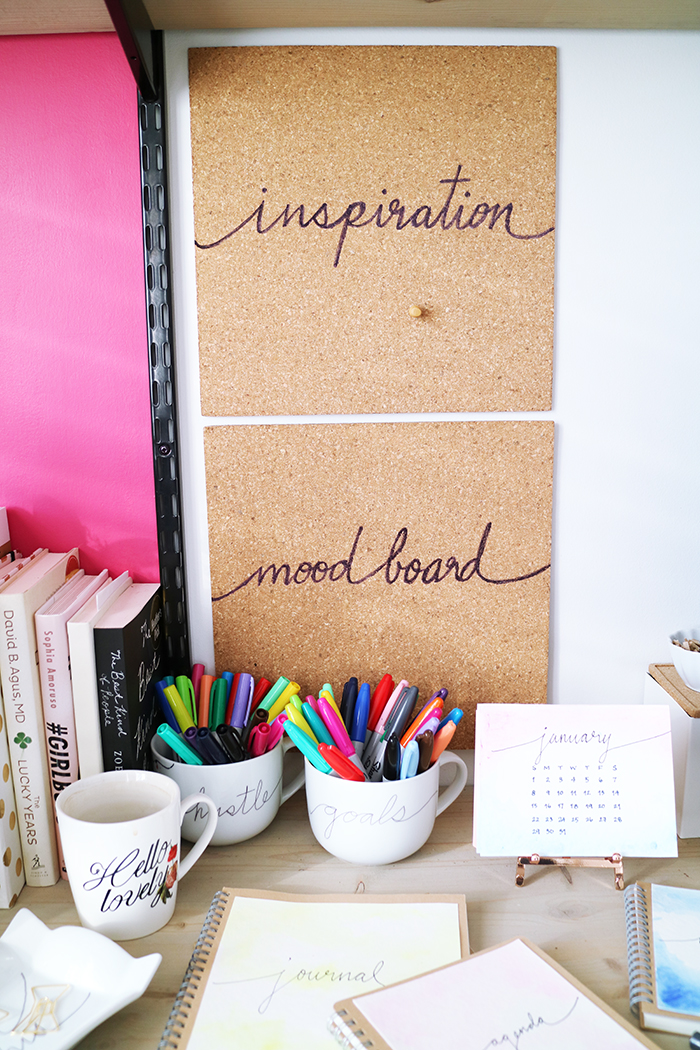
I also found some plain cork tiles at the dollar store and added an extra flare to them. These are perfect displayed on the wall for all things inspirational!
If you’re a Sharpie fan like me, be sure to pick up the 24 pack of limited-edition Color Burst Markers in either fine point or ultra-fine point. You will notice the difference, because they are comparatively more fast drying, smear free, and fade-resistant then the others!
I absolutely love these and I am definitely planning to make a few more!
If you were inspired by this post, I hope you’ll pin it and share it with others!
Disclaimer: This is a sponsored post in partnership with Sharpie. All thoughts and ideas remain my own. The new, limited-edition Sharpie Color Burst Permanent Markers are available at Walmart, Staples, Loblaws, Deserres, Michaels and Amazon.ca.
Connect with Me!
Facebook Twitter Pinterest Instagram Bloglovin‘


2 comments
These are absolutely gorrgeous! Love them! <3 Such a beautiful blog!
https://busybeeblogweb.wordpress.com
I am SO envious of your Sharpie collection! I only have the gold ones myself but given I’ve already used them in 3 DIY tutorials for my blog, I guess I should buy more!!!