Happy Hump Day! Can’t believe it’s Wednesday already, it’s a short week for me due to the Canada Day holiday on Monday, I hope all my fellow Canadians had an amazing holiday celebration. Mine was fantastic for the most part, except it ended off with a really bad reaction to a mosquito bite on my eye lid!!! Think swollen eye a size of an hard boiled egg! To all my American readers, happy early Fourth of July!
Today’s DIY project is actually a re-do. A little while back I was SO excited when BuzzFeed (see the mini disaster here) approached me and asked me to participate in a DIY Summer Sandal challenge. Sadly to say, the photos didn’t turn out that well and my vision for this Jimmy Choo inspired Tassel Wrapped Sandal just didn’t come through on page the way I wanted it to. Therefore, I decided to re-shoot the photos for this DIY here we are.
I am obsessed with the Jimmy Choo version, with my recent home purchase, made sense to create a DIY inexpensive version to hold me over. You can double the tassel wrap as a necklace as well! Give it a try and let me know how it turns out!

I also saw Aimee from Song of Style style her’s just this past week!

Read further for DIY step by step instructions
- Sandals that have an ankle strap and single cross strap
- Flat suede/leather cording, 6 meters minimum for both shoes – this created about about one wrap around the leg, if you want more wraps, you will need to increase the length of cording
- Embroidery cording with texture or sheen – I used 2 colors
- 4 jump rings
- Jewelry wire
- Pliers
- Scissors
- Tape

1. Create a braid. Working one shoe at a time, cut 3 equal length pieces of leather suede cording, approximately 1 meter each (this is going to depend on your preference on how many times you want to wrap around your ankles). Tie the 3 pieces together in a knot at one end and tape down on a flat surface.
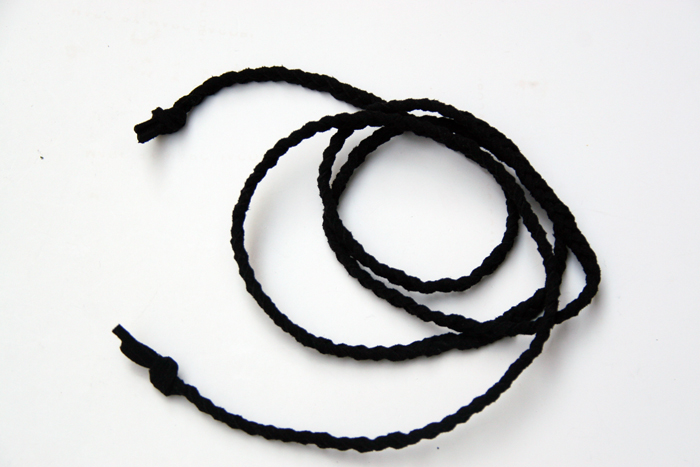
2. Braid the 3 strands.


3. Adjust the tape as you work, if necessary. When you’re done, knot the end and set the braid aside. Braid your second strand.
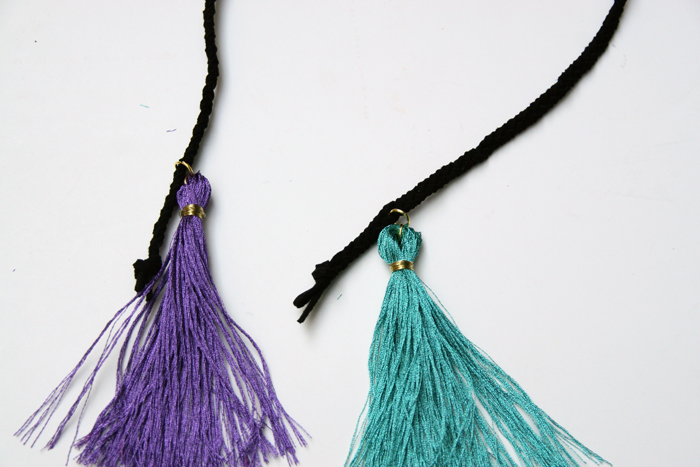
4. Create the first tassel. Take a piece of cardboard cut to the desired length of the tassel you want. Wrap the embroidery cord repeatedly around the length of the cardboard until you have reached the end.
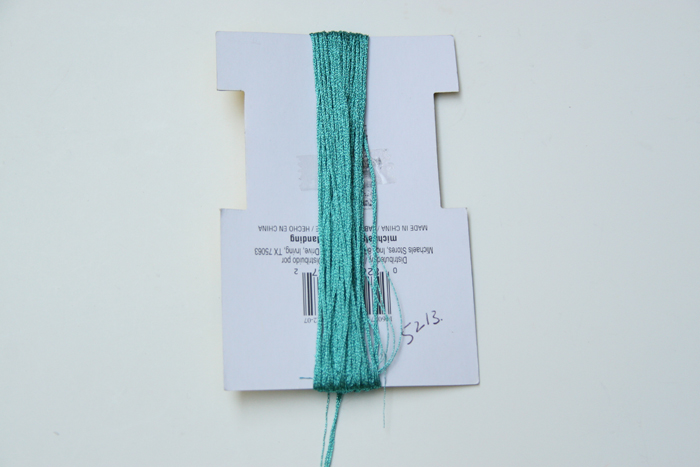
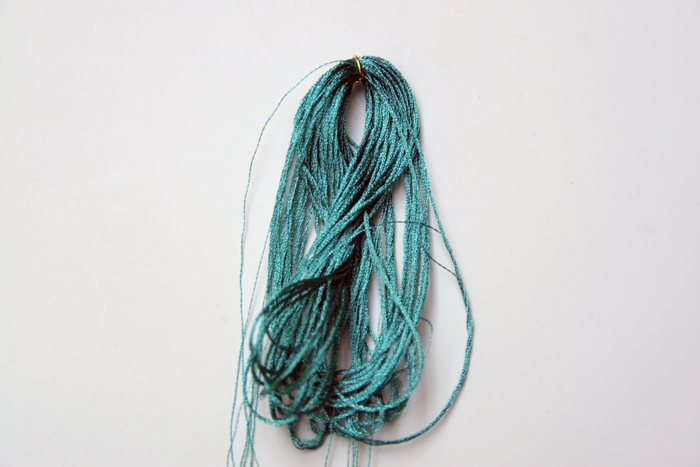
5. Carefully remove the embroidery thread from the cardboard ensuring that you keep the loop shape, secure the top by affixing a jump ring at one end.
6. Taking some jewelry wire, wrap it around the top edge of the tassel several times. Leave about ¼” from the top. Take a pair of scissors and cut the ends through the loop to create the tassel fringes.
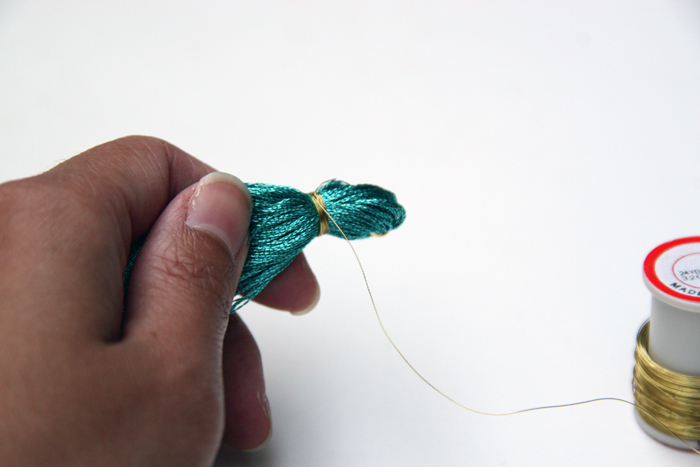
7. Cut the closed ends of the tassel.
8. Trim the ends to make it even.
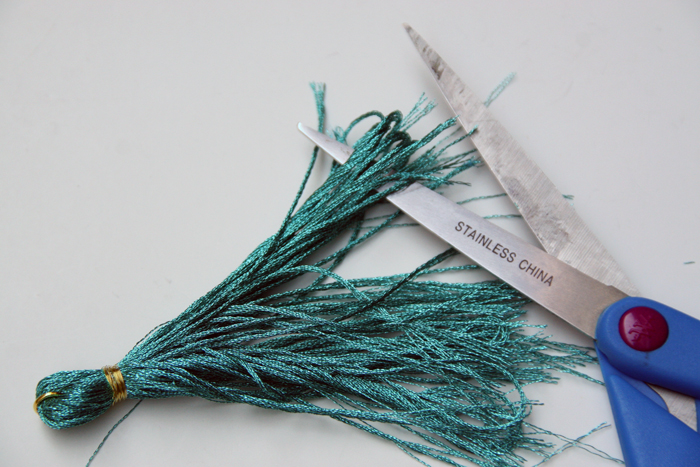
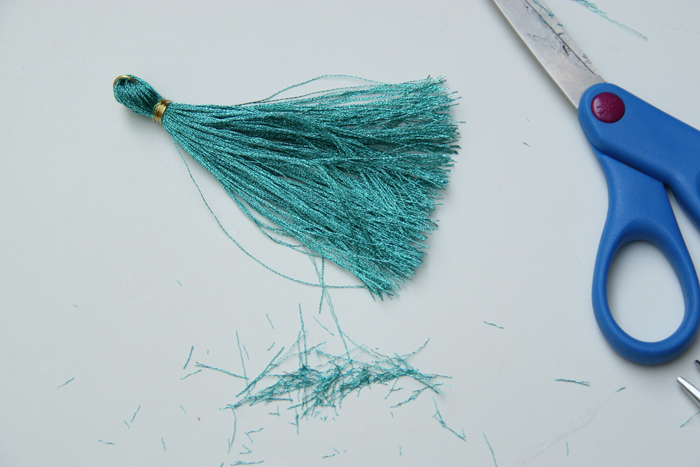
9. Repeat these steps for the remaining 3 tassels (2 for each shoe).
10. Measure where you want the first tassel to reach on your braided strand. Then secure them with a second jump ring through the first, then affixed to the braided strand. Repeat this for your second tassel.
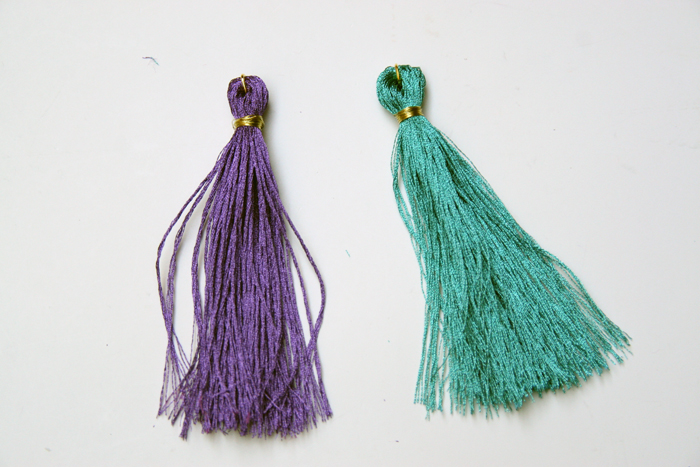
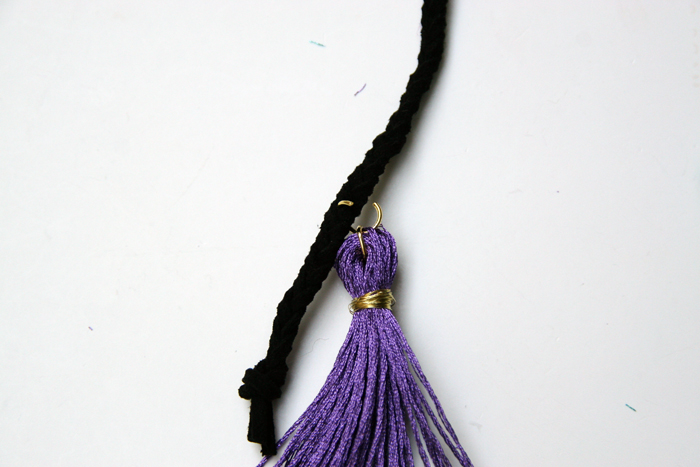
11. Repeat step 10. on your second braid.
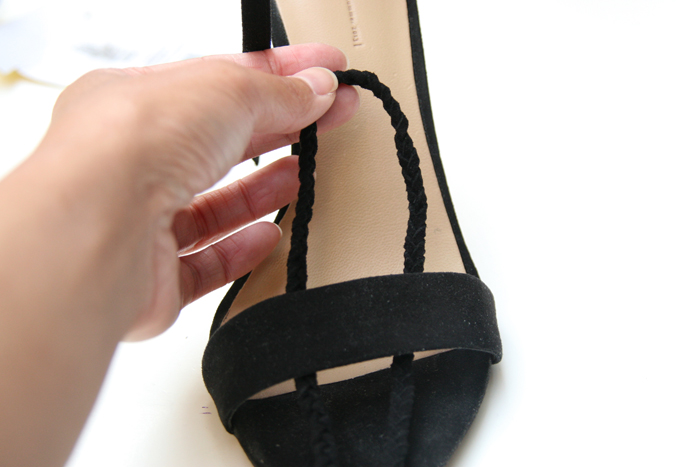
12. Take the braided strand, fold it in half and take the loop under the strap of your shoe as shown. Loop the ends through and pull to create a knot around the strap.
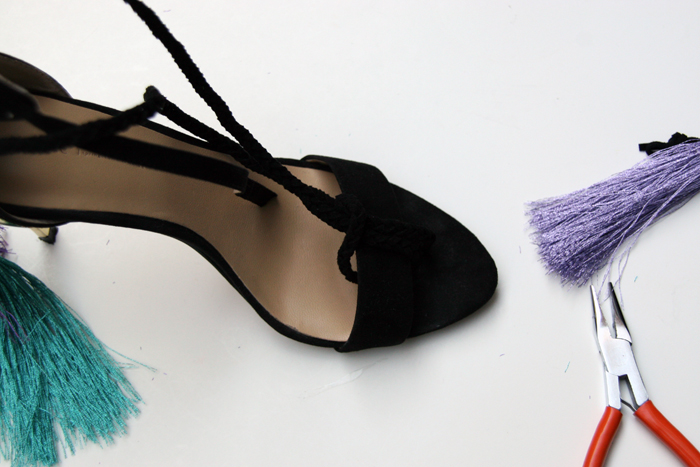
Here you have it! My very own pair of Jimmy Choo inspired Tassel Sandals!
You can also use your tassel strap as a necklace by tying a knot in the front of a shirt and leaving it hang. You can also try using the tassel straps on other shoes/sandals!
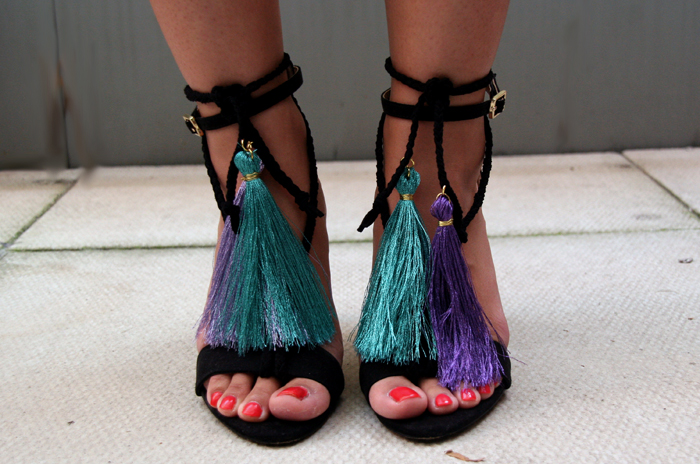
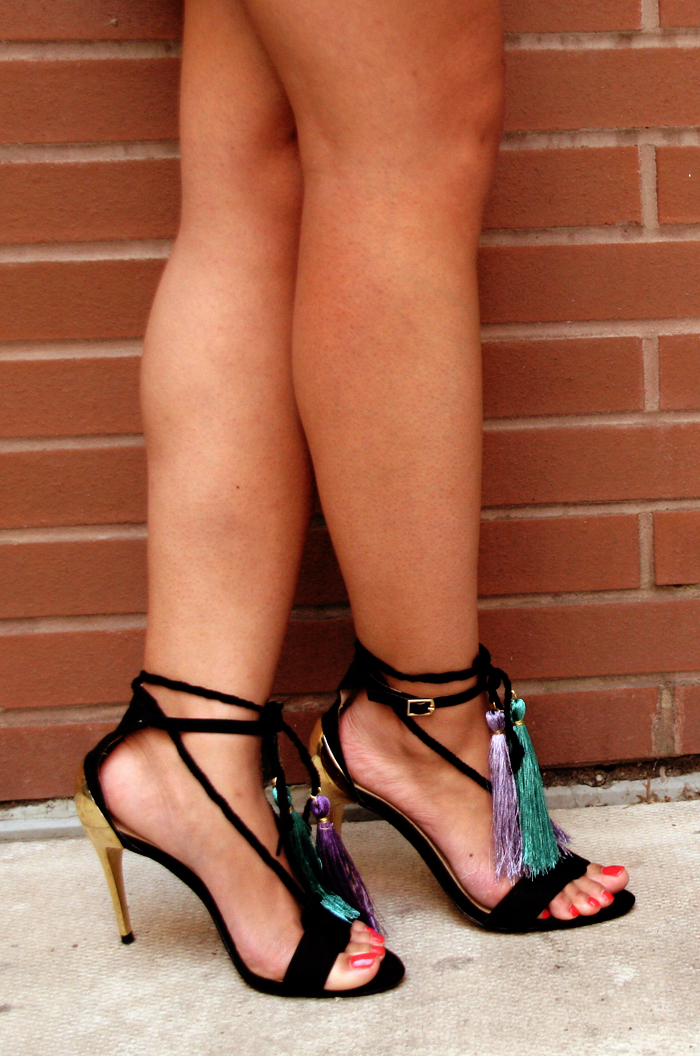
Sandals: from Zara here (I live in them!)
I love that I can add these tassel wraps to my existing black sandals and create a brand new pair of sandals!
I hope you’ll enjoy the rest of the week, more summer DIY’s coming soon! Thanks for reading.

7 comments
Loving this DIY
http://www.northernstyleexposure.com
Way cute.
I like what you did on your shoes.
I will be posting some pics of what I do to make old shoes new again.
Beads knitters.blogspot.ca
I love those tassel shoes! I have had these women shoes and i love the style!! great job!
Really nice!!!! x
Brilliant
[…] Follow DIY Detail […]