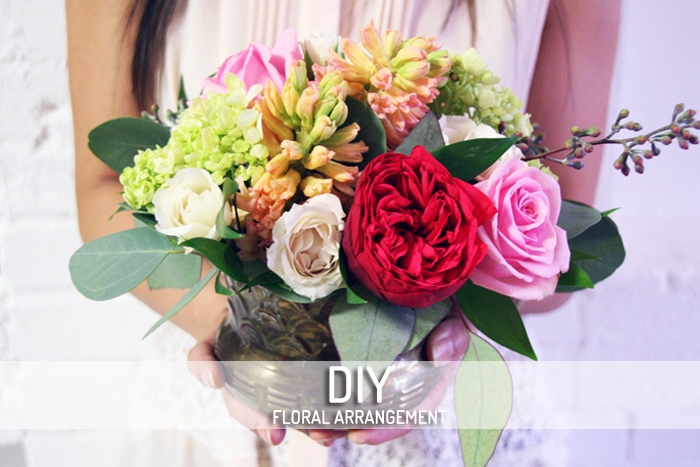
I had the pleasure to visit Becky at her floral design studio, Blush & Bloom last weekend. I asked Becky (being the floral expert that she is) whether she could show me (and you) how to arrange a gorgeous floral arrangement. I had so much fun at her by appointment only studio and learned plenty about flowers and how she creates such gorgeous pieces. Did I mention, her studio is so fabulous (I’ll share more photos of her studio soon) and I was also thrilled she surprised me with a Valentine’s colour palette.
Home
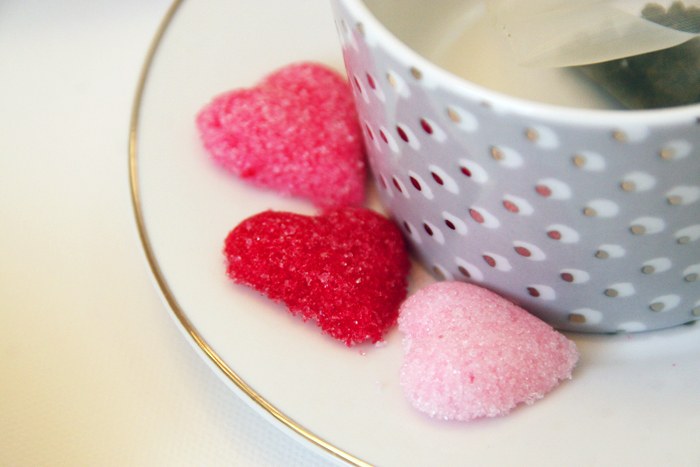
There are just countless Valentine’s Day projects out there that are tremendously cute and simple to try. I decided to kick off Valentine’s Day this year with this simple DIY project – heart shaped sugar cubes, which I had the pleasure to contribute to SheKnows Canada.
I’ve always wanted to make my own sugar cubes and after doing so research, I decided to sweeten up my cup of tea with these super cute, easy, and adorable sugar cubes. You can essentially create any shape and color you want by changing up the mold.
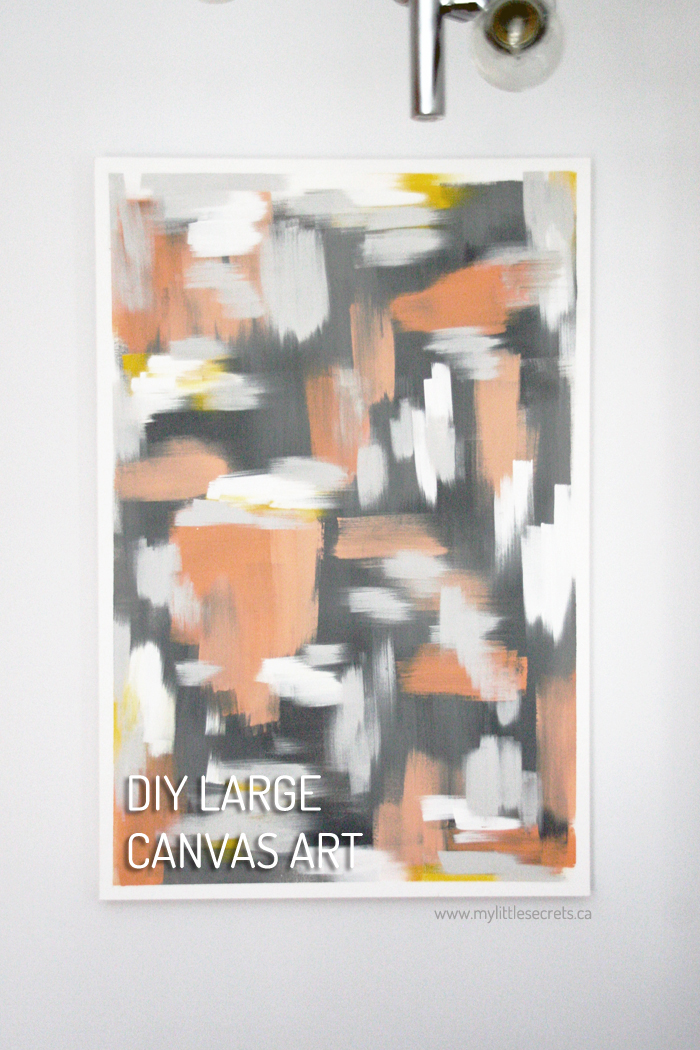
As mentioned in a post a did earlier this week, I’ve been scouring for art work to fill the wall by my dining room table. After doing some research, as we all know, unique, original artwork can have a very heavy price tag. Therefore, after contemplating for some time, I decided put my beret on paint a piece of art of my own.
I was thoroughly delighted with the results, but I was even more thrilled about my experience during the process. What I had envisioned to be a SUPER simple piece (I was literally going to paint two colour stripes and call it a day), turned out to be much more than that! I just decided to go with it and see where it landed.
This is the last project on my DIY Series with Girls of T.O.! Once again, I want to thank Dani for letting me share my Holiday DIY’s on their blog.
HoliDIY :: Christmas Tree Burlap Bunting Garland (with Girls of T.O.)
Today, I’m guest blogging for Girls of T.O.! I was so thrilled when Dani asked me to take part in a mini series of Christmas DIY for Girls of T.O. This is the first of three DIY’s that I’ll be sharing with you, I hope you like them and will give them a try!
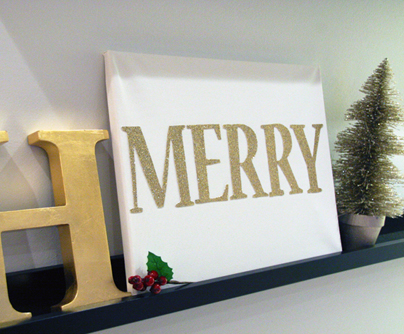
TGIF Lovelies! Yes, the Christmas season is certainly upon us! The most exciting time of the year because I get an extra excuse to DIY and craft excessively, lol! Starting you off, nice and easy, today’s HoliDIY is really simple. I’ve been looking for ways to add artwork into my home this holiday season, inspired by the gold glittery thingsmg I’ve be seeing, I decided to DIY a Glitter “Merry” Canvas.
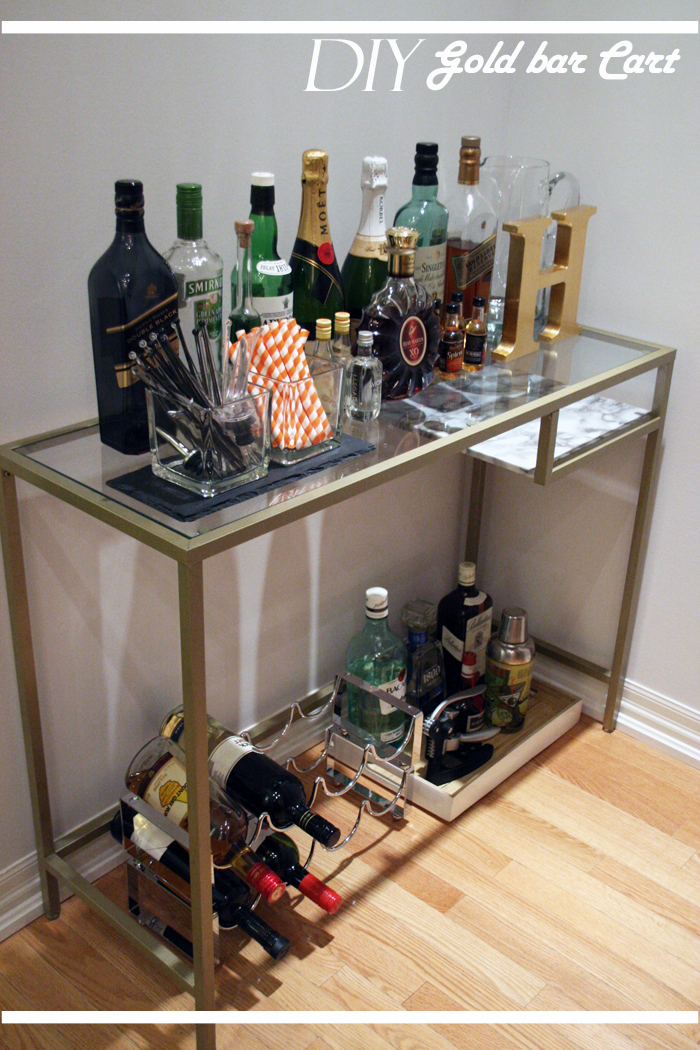
I’ve always wanted a bar cart to hold all the libation for our guests. The condo was too crowded to fit a bar cart. I was super excited that we found just the perfect nook for a bar cart in the new home. Though I now had the perfect spot for a party cart, I was faced with two challenges. First, finding something that was slim enough for the ‘nook’ and second, I wasn’t looking to spend a few hundreds of dollars. After doing some research online and following the footsteps of other expert DIY-ers (love this and this option), I decided to tackle a DIY Gold Bar Cart/Ikea hack.
I must say, $40 got me a long way and I am absolutely 100% satisfied with my DIY Gold Bar Cart, Ikea makeover.
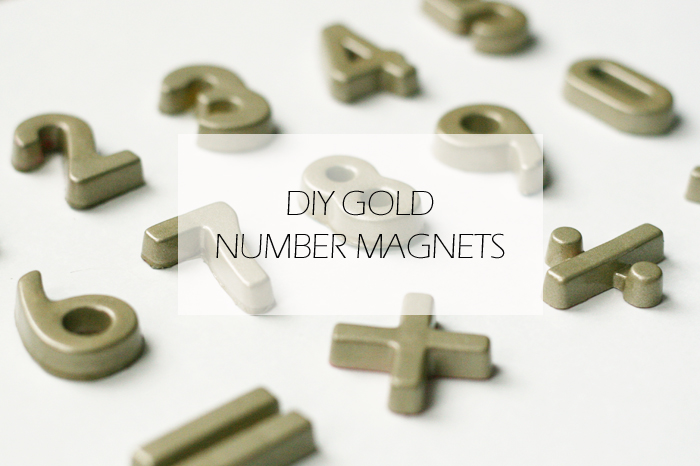
I’ve been on DIY home decor mode since we moved. There are so many things on my list to tackle and honestly I don’t think home decor will ever be complete, there are always ways to update the interior. Today’s DIY is super easy, it was inspired by a pin I saw here. All you need is a can of spray paint and a package of plastic number magnets (those alphabet ones work just as good). Enjoy!
TGIF!!! Today is the BIG day, we’re getting our keys! The last couple of days have been full of packing, I can’t believe how much stuff I’ve accumulated over the last couple of years. I had some tough parting moments with some once beloved items but it had to be done!
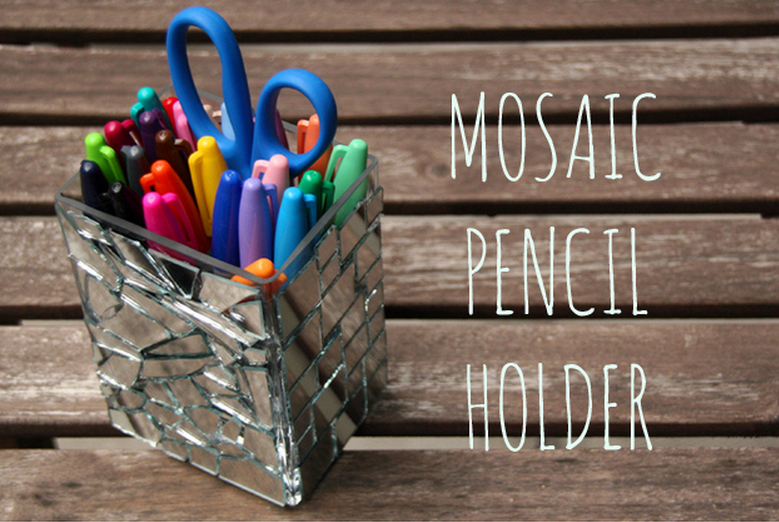
On another note, I had so much fun partaking in this DIY post with BuzzFeed. What a great way to spruce up the office or just in time for back to school with this DIY Mosaic Pencil Holder.
Happy Weekend to you! I am so glad this week is over! The busiest week at work for me, so once again I apologize for being so quiet this week!…

