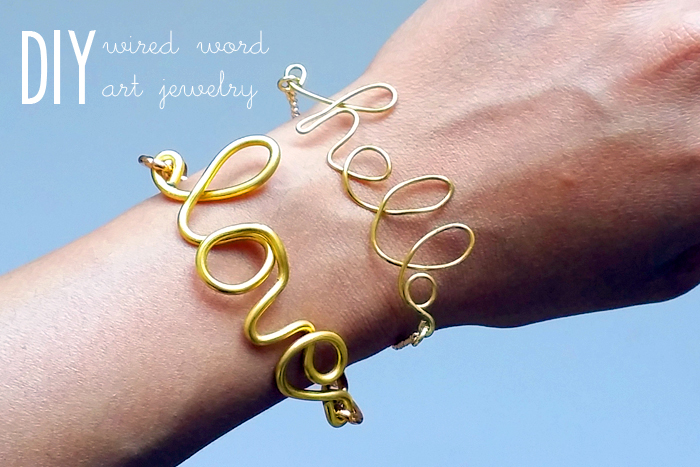
Hello! Greeting you today with this fun DIY project that can be made into bracelets, necklaces, rings, and even home decor – DIY wired word art. I originally worked on this wired art project for a DIY Wired Kit I was collaborating on with Wander and Hunt. However due to changes in management, looks like these kits won’t be produced and sold after-all. I’m definitely a little bummed but onward and upwards! Lucky for you though, I’m more than happy to be sharing this DIY tutorial, even though these won’t be made as kits, you can easily purchase assorted jewelry wire at the local craft store.
DIY
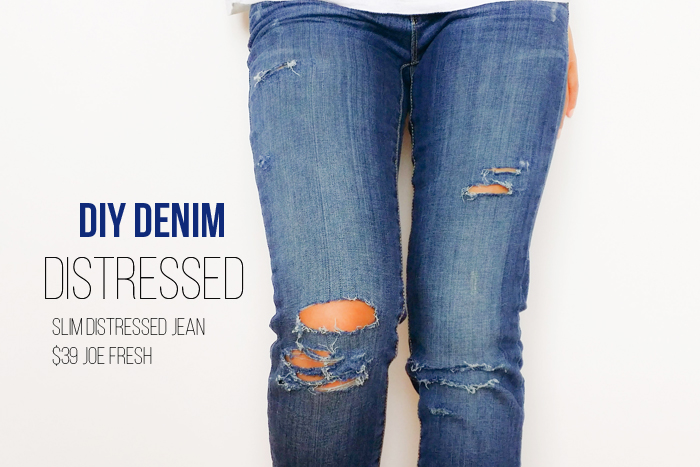
Hello! Last weekend, I had the pleasure to host a fun DIY denim event with Joe Fresh at their flagship store in Toronto. Though the foot traffic was a tad light, we had a great time and I was able to show a few of you have to distress your denim… the proper way!
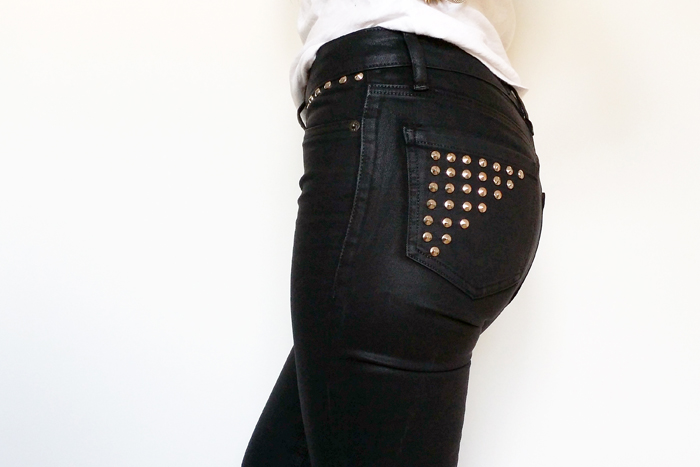
For those of you who weren’t able to make it to the event, here are the three (studded, distressed, and stenciled) simple step by step tutorials you can try at home. They are super fun and easy, and just in time for the cooler Fall weather! Do Denim Your Way!
Hello! So excited to share a little project I’ve been working on with Joe Fresh, just in time for back to school and the upcoming Fall season! When I think Fall, I think denim. I think about all the different types of new colours, styles, and cuts that get introduced in and around the Fall season.
I LOVE DIY-ing denim (some of my favourite past DIY Denim projects here and here). There is so much you can do yourself with denim and it’s insanely easy to achieve expert results all on your own!
I’m absolutely thrilled to be hosting a “Do Denim Your Way” DIY in-store event with Joe Fresh this coming Saturday, Aug 23 at their Queen and Portland, Toronto location from 11:30 a.m. -1:oo p.m. The first 100 people to make an in-store denim purchase that day will receive their very own DIY kit to get started with one of these 3 looks – Distressed, Studded, or Stenciled.
DIY + Style :: “A Day in Paris” with Shop for Jayu
Bonjour! I hope you had a fabulous weekend! I was vacationing in Boston last week and it was a super unforgettable trip! Kyle asked me to marry him during a romantic gondola ride. I was so surprised and it was a magical moment for us. I can’t wait to start planning our special day but we’ll take the rest of August to enjoy our time as a newly engaged couple, so exciting!
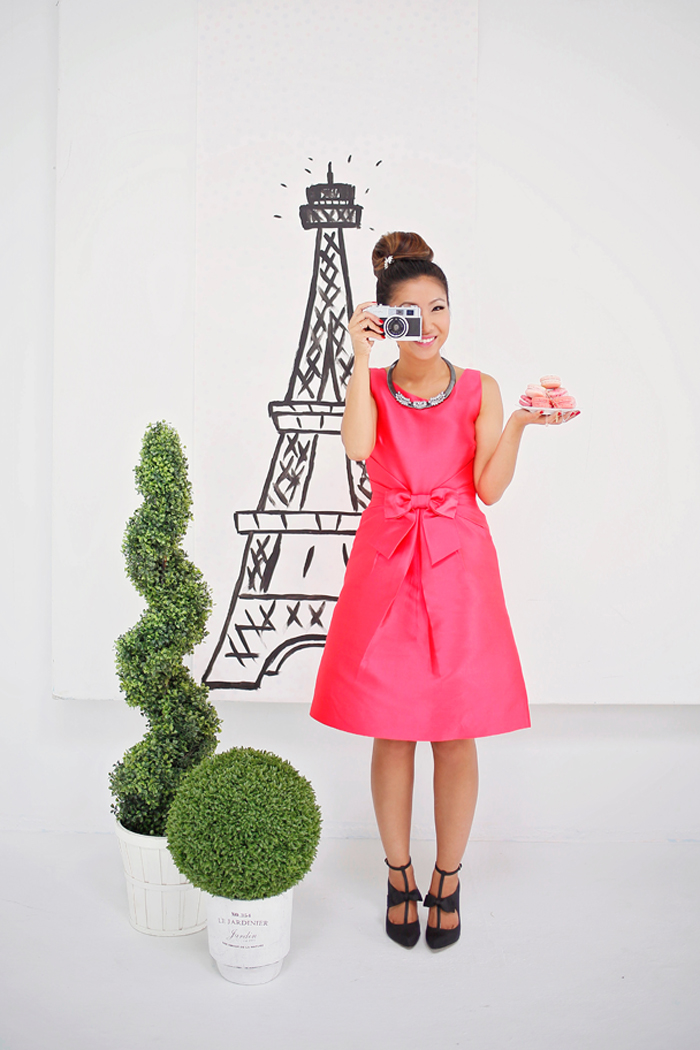
Now, back to this post! Last week, I shared some photos from my Shop for Jayu FW 2014 look book shoot. As promised, here are the remaining photos which by far are my most favourite. Since visiting Paris for the first time earlier this year, I have fallen in love with the Parisian culture. I put together this concept as how I imagine my perfect “day in Paris” to be. What can beat a day strolling through the Eiffel Tower with french macarons in hand sporting a beautiful outfit and a SUPER DUPER high top bun (thanks to the most talented Allison Kam)?!!!
For the life size DIY Eiffel Tower, I literally took a paint brush, some black paint and scribbled it on the back side of a roll wrapping paper. I loved the way it turned out, it totally pulled everything together. This would be a perfect addition to a Parisian themed bridal shower or party!
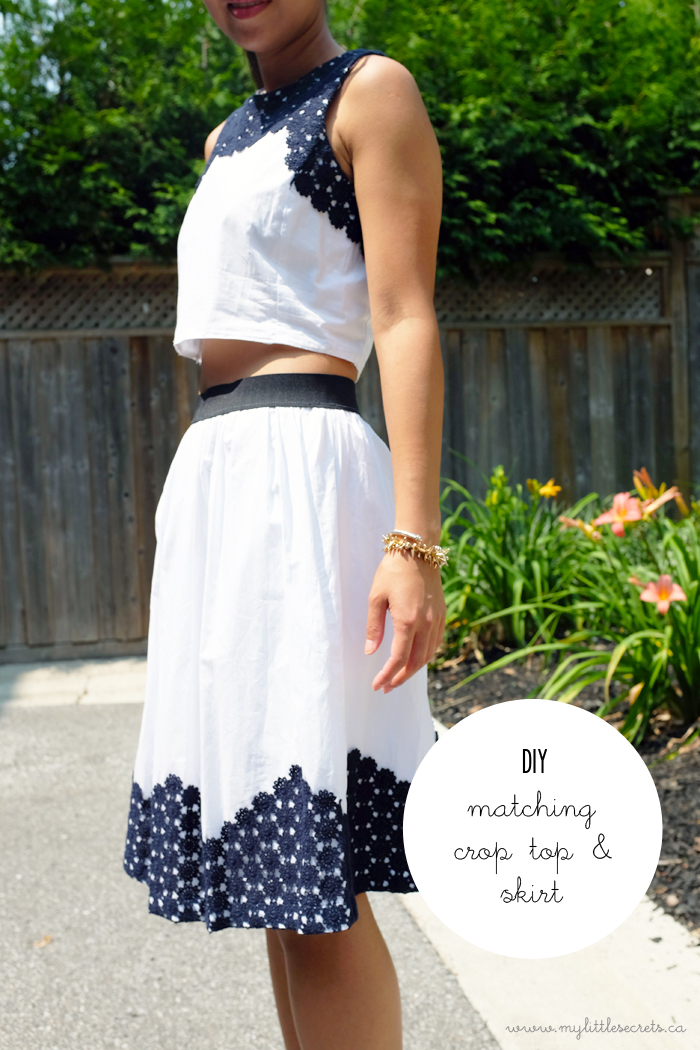
Hello! Another summer DIY tutorial today. Just about the same time last year, I attempted my first DIY Matching Cropped Top and Skirt project, the results were fabulous and I’ve always wanted to try the technique on another dress.
I found the perfect summer dress from Joe Fresh (on sale now!) however, it was a little too big for me, so I decided to slim it down a notch and also transformed it from a gorgeous one piece to a versatile and fun matching two piece cropped top and skirt number.
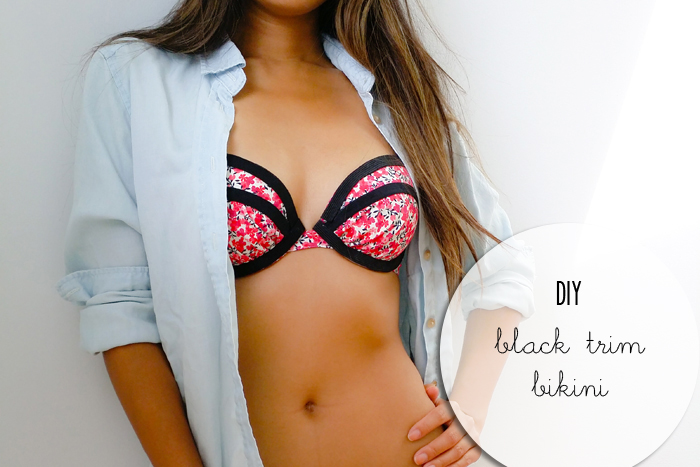
Since living out by the Beach, its given me ample excuses to purchase new bikinis. I realized that I had to put a stop to it. Naturally, I decided to raid my existing collection of bikinis and decided to give my floral Joe Fresh two-piece a face lift. If you’re an Instagram addict, I’m sure you’ve seen the popular Traingl swimsuits all over your feed. I absolutely love their swimsuits, particularly their piped and neoprene suits. Therefore, I tackled my own version of this DIY black trim bikini.
I had some leftover black elastic trim from another project and took the lazy route for this no-sew DIY bikini project.
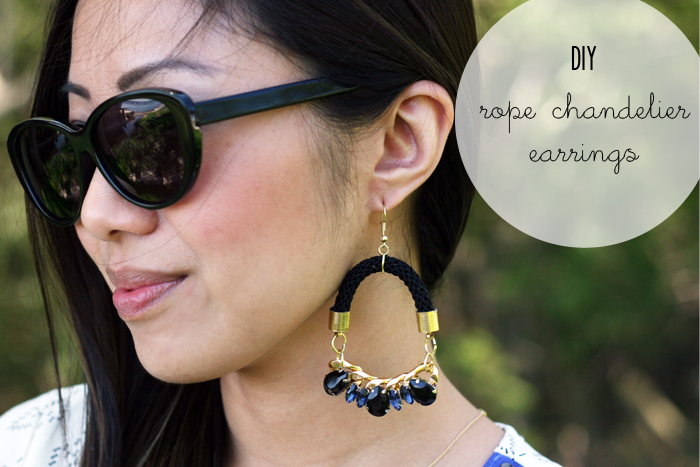
TGIF! Anything exciting planned for the weekend? I believe it’s going to be rainy here in Toronto for the most part, which gives me a guilt-free excuse to stay in, catch up on some magazine reading and DIY projects. I’m sharing an updated version of a DIY earring project I posted over a year ago. I thought it deserved a second attempt and this time, sourcing materials from Wander and Hunt – giving you the chance to get some quality rhinestones and earring-making must-haves.
These DIY Rope Chandelier Earrings were super fun and easy to make. I’ve got to say, purchasing some quality rhinestones make just that much more of a difference when you’re making your own jewelry. The color combination on this pair of chandelier earrings is a perfect step into Fall or an evening out, however, if you pick up some pastel or bright color combinations, it’ll be perfect for this summer weather!
Read further to see step by step instructions and what you need for this beautiful DIY earring project.
Bonjour! I’m so excited to share a glimpse of a special project I worked on over the weekend with Shop for Jayu! When Sally asked Marla, Angelic, and I to a part of Shop for Jayu’s Fall/Winter 2014 look book, I was beyond ecstatic. The most exciting part about this project was not only being able to work with a super talented team of creative people, but Sally also wanted each one of us bloggers to create our own concepts and incorporate elements of our style and blog into each shot.
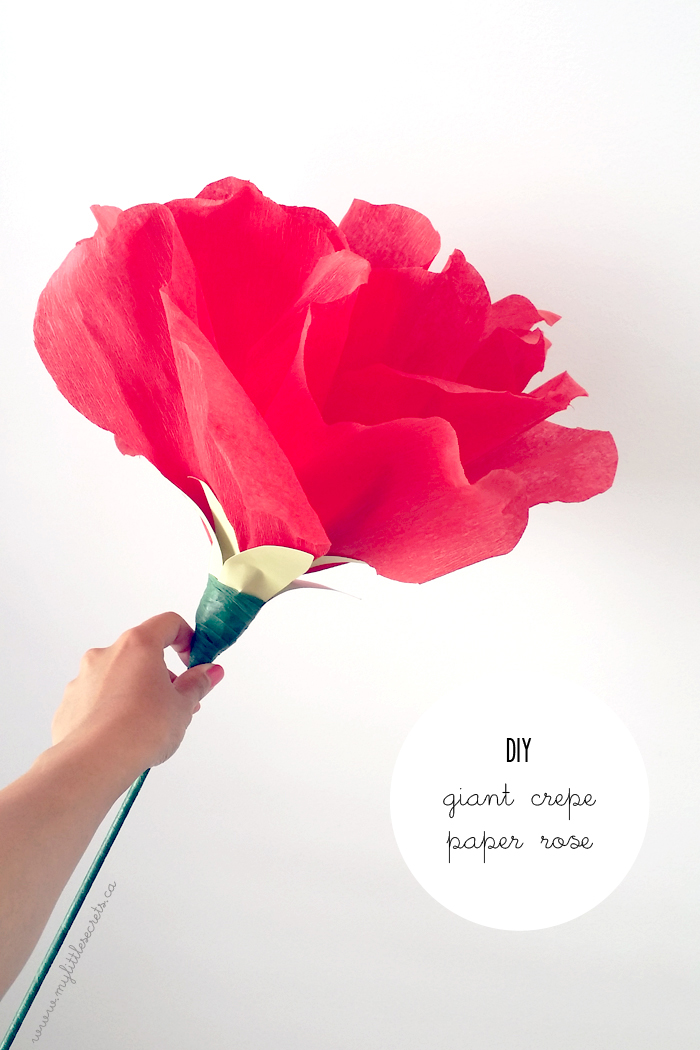
Of course my main focus was to include a fun DIY project for each the looks I came up with. Sharing with you today is my one of my three conecpts – “Romantic Rose Garden”. I really wanted to keep everything simple, but exaggerate the shot with this DIY giant crepe rose, creating an surreal romantic moment. I’ve seen this paper flowers many times, and have always wanted to make a giant one, this was the perfect opportunity.
DIY Inspiration :: Emotion Calendars
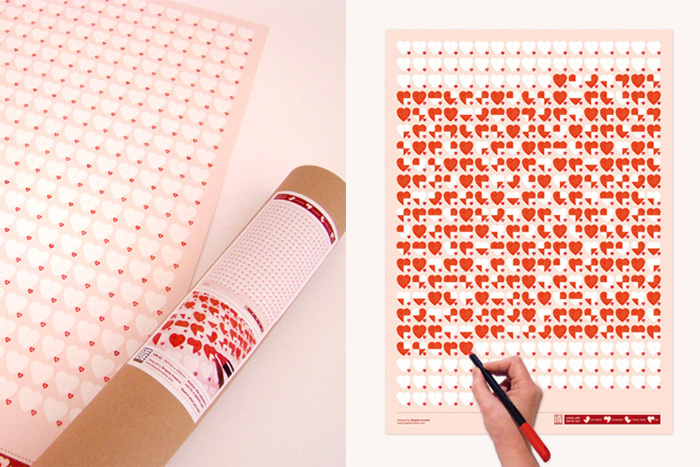
Hello! A super quick post today, but a good one! I came across these creative, adorable, and in MY mind, practical life and love calendars by Brigada Creativa. Funny how we keep track of all the important parties, meetings, and numerous to-dos but rarely pay attention to our emotional meters.
I love these life and love calendars. The “Love Life, Day by Day” calendar has 365 hearts for each day, each divided into 4 quadrants, representing: time together, conversation, caress-kisses and sex. Keep track of your heart wellness by filling in the portion daily – hopefully you’ll end up with more full hearts than none! The “How was your day?” calendar, equally as important, tracks your daily emotions by allowing you to fill in the blank happy faces: very good, good, ordinary, bad, or very bad.
For those of you who celebrated Canada Day yesterday, I hope you had a nice a relaxing day! I took Monday off as well and made it an extra long weekend and managed to catch a lot of vitamin D out in cottage town. I had such a great time! To my America friends, I hope you will be able to enjoy your upcoming Fourth of July weekend as well!
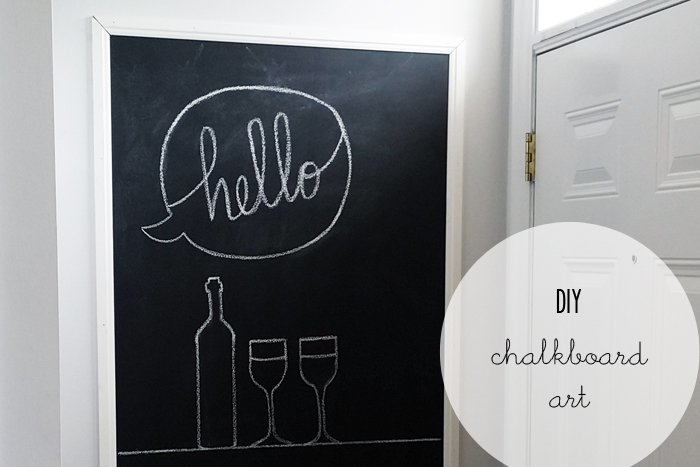
Apologies for not posting this DIY {Built-In} Chalkboard tutorial earlier, I know that I had mentioned it in this post a couple of weeks back, but here it is! I have very high ceilings at home and have been wanting to welcome my guests by my front entrance with a big piece of art for quite some time. However, finding a frame or a canvas about 6 ft tall can be quite challenging. Therefore, I decided to create a DIY built-in chalkboard for some doodling by painting directly on the wall and adding some simple trim border as the frame.

