For those of you who celebrated Canada Day yesterday, I hope you had a nice a relaxing day! I took Monday off as well and made it an extra long weekend and managed to catch a lot of vitamin D out in cottage town. I had such a great time! To my America friends, I hope you will be able to enjoy your upcoming Fourth of July weekend as well!
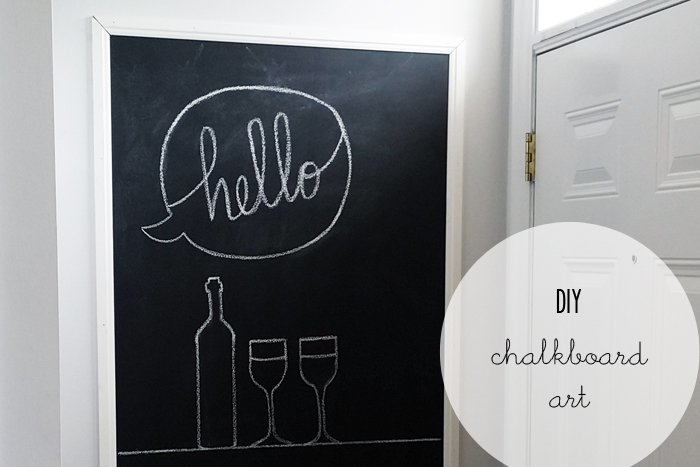
Apologies for not posting this DIY {Built-In} Chalkboard tutorial earlier, I know that I had mentioned it in this post a couple of weeks back, but here it is! I have very high ceilings at home and have been wanting to welcome my guests by my front entrance with a big piece of art for quite some time. However, finding a frame or a canvas about 6 ft tall can be quite challenging. Therefore, I decided to create a DIY built-in chalkboard for some doodling by painting directly on the wall and adding some simple trim border as the frame.
A DIY built-in Chalkboard gives you the option to create any size you want to suit your space and you can also find uber decorative trim to make it even more dramatic! Thoughts?
- Chalkboard/Blackboard Paint
- Painter’s Tape
- Chalk
- Trim enough for your frame, mine frame is 5 x 2.5 ft (you can find some really pretty decorative ones as well)
- Finishing Nails
- Hammer
- Handheld Wood Saw
- Sand Paper
- Level
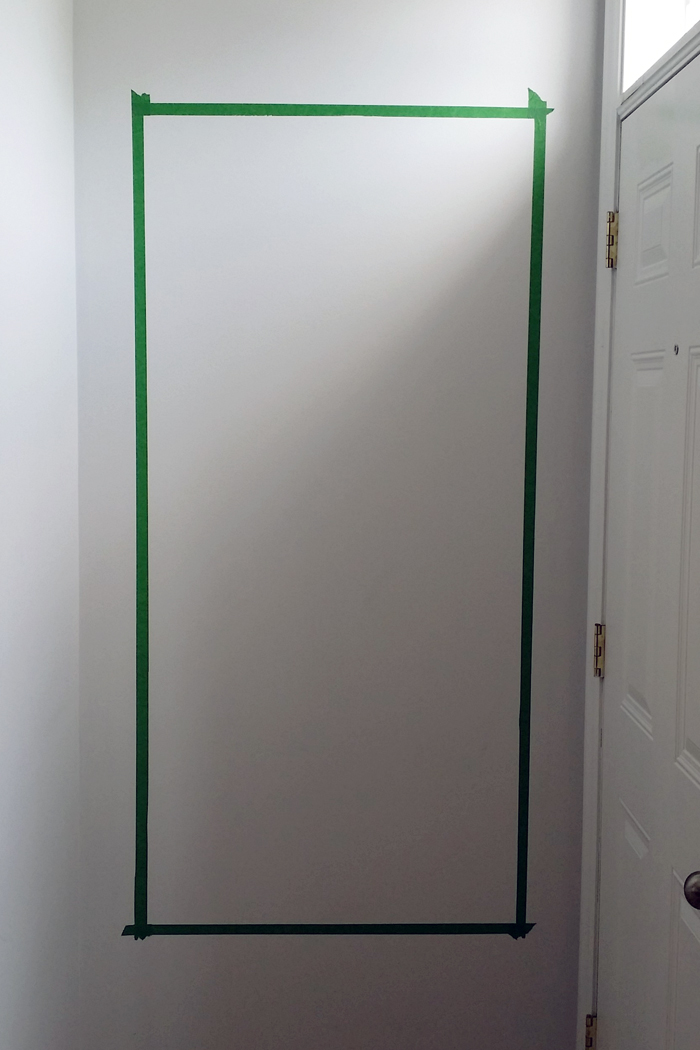
Step One: Measure and Tape
Measure the size of frame you want and tape the edges with painter’s tape using a level to ensure accuracy.
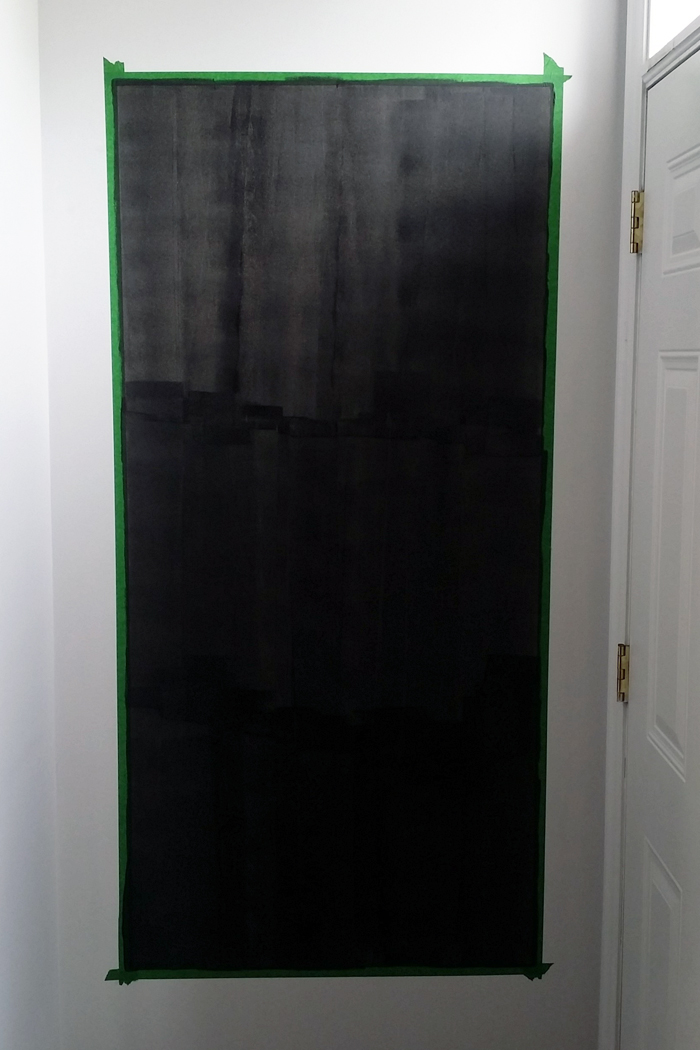
Step Two: Paint and Dry
Paint 2 -3 coats of chalkboard/blackboard paint within the taped edges, letting 20 minutes of drying time between each coat (best to follow the directions on your paint tin).
Step Three: Cut the Trim
I volunteered to BF to help me with this part as he’s by far much better with a saw than I am, but don’t be intimated, it only takes a few minutes. Cut each trim to length using a hand wood saw ensuring that you cut a 45 degree edge for each corner. Sand down the trim with sand paper if you weren’t able to cut 100% straight edges. You will barely notice the difference.
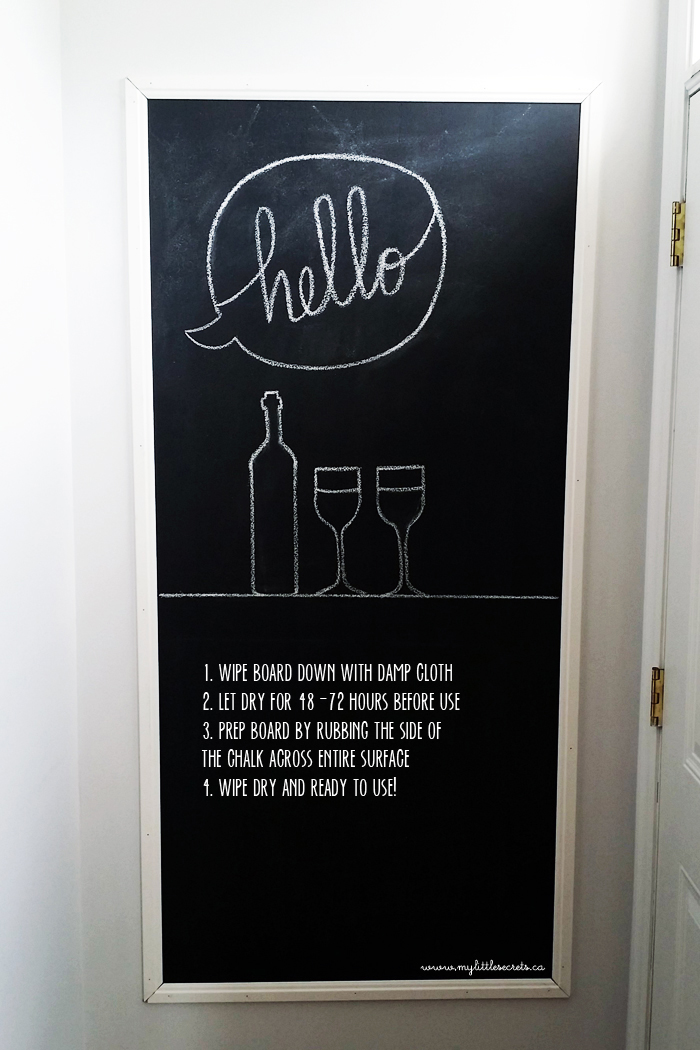
Step Four: Nail the Trim
Place the cut trim onto each edge and secure with finishing nails with a hammer. I would suggest a finishing trim every 2 inches.
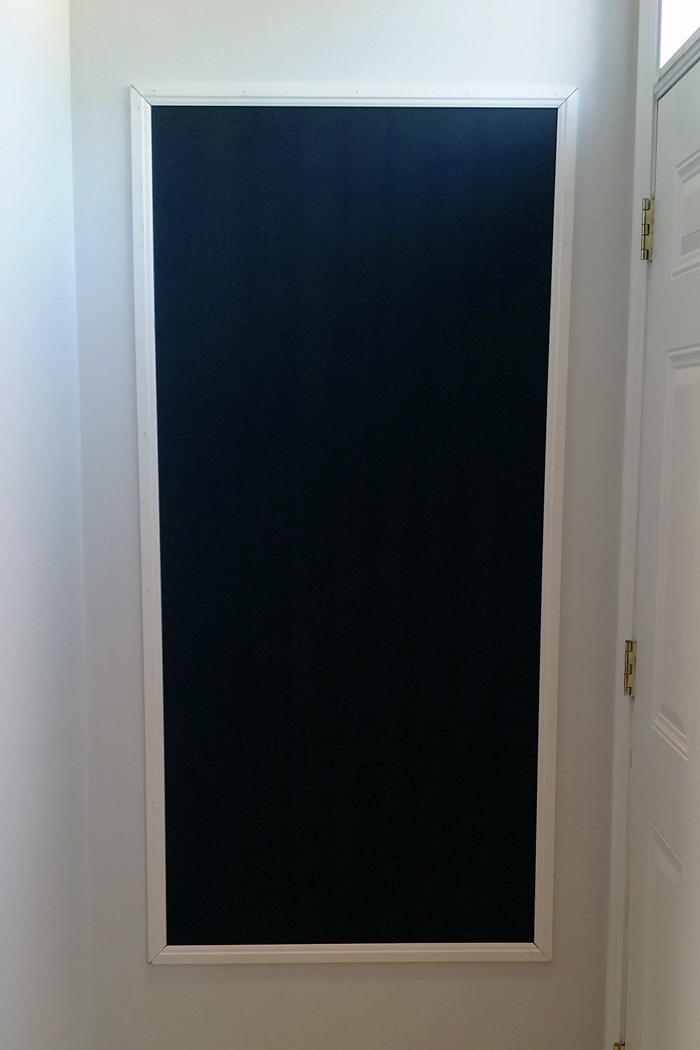
Step Five: Prep and Doodle!
Once your last coat has dried, use a damp cloth or paper towel and wipe it down gently. Let the board dry for 48-72 hours before you do your doodle magic. Before you being your art work, take the side of a chalk and rub it against the entire chalkboard surface, this will help the chalk adhere better on the board over time.
TIPS for drawing
If you want your art work to be symmetrical, I strongly suggest either drawing grid lines or project your design directly onto the surface if you have access to a projector. In terms of the actual chalk itself, for clean lines, try sharpening the chalk with a sharpening to create a pointy tip. There are also chalk markers out there that would make really nice clean lines!
Apologies that this tutorial is a bit different then my usual format, however, it was hard to get the long images into the regular, format, this read much better! I hope you enjoyed this simple DIY project that is both practical and fun! You can draw up your own menu pre-dinner party or summer BBQ! You can see more chalkboard art inspirations by visiting my Pinterest page.
If you love it, make sure you share it!

