Hello! Last weekend, I had the pleasure to host a fun DIY denim event with Joe Fresh at their flagship store in Toronto. Though the foot traffic was a tad light, we had a great time and I was able to show a few of you have to distress your denim… the proper way!
For those of you who weren’t able to make it to the event, here are the three (studded, distressed, and stenciled) simple step by step tutorials you can try at home. They are super fun and easy, and just in time for the cooler Fall weather! Do Denim Your Way!
I want to thank the Joe Fresh team for inviting me to host this fabulous in-store event and for putting together such cute DIY denim kits (I’ve got free ones for ya, read below!) for their customers (see below)!
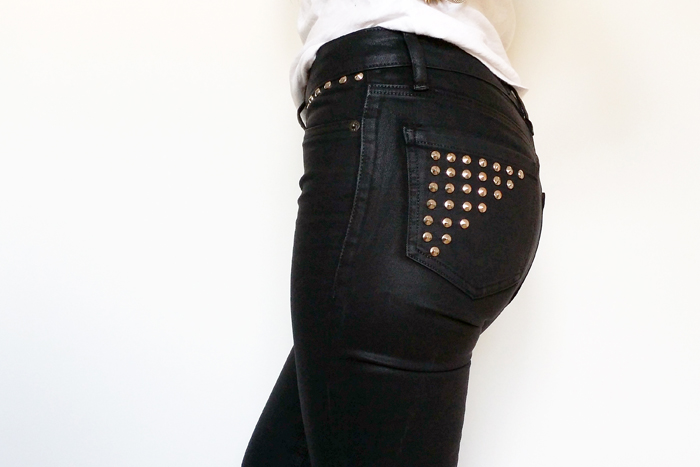
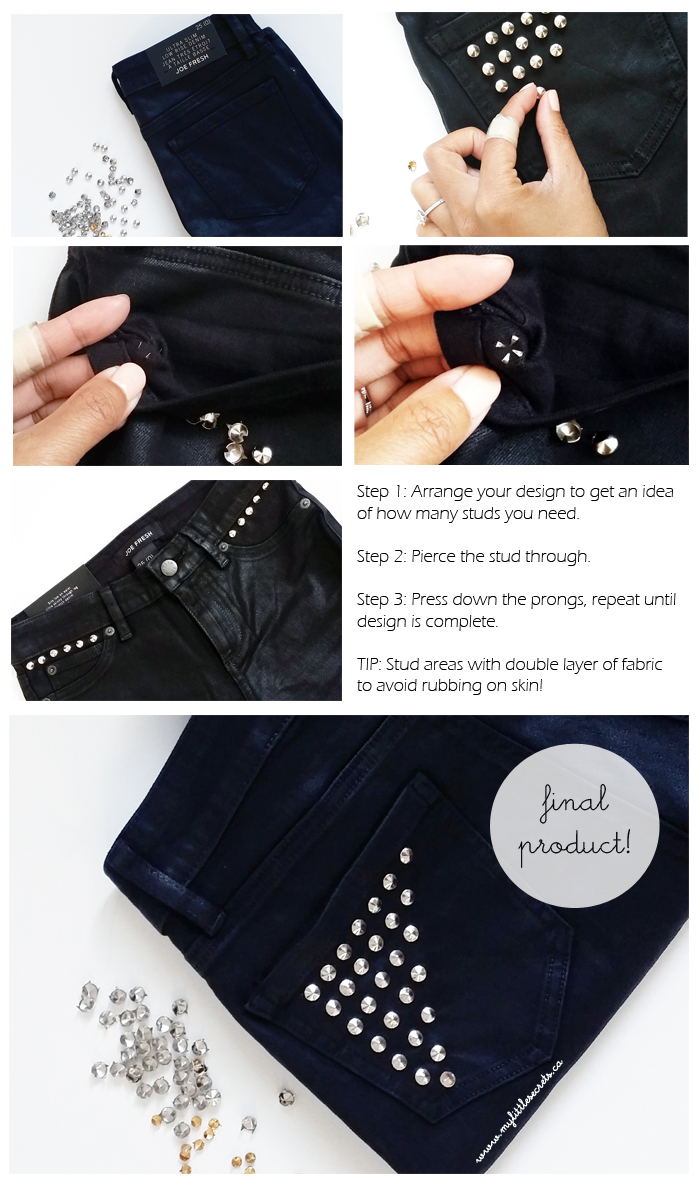
1. DIY Studded Wax Denim
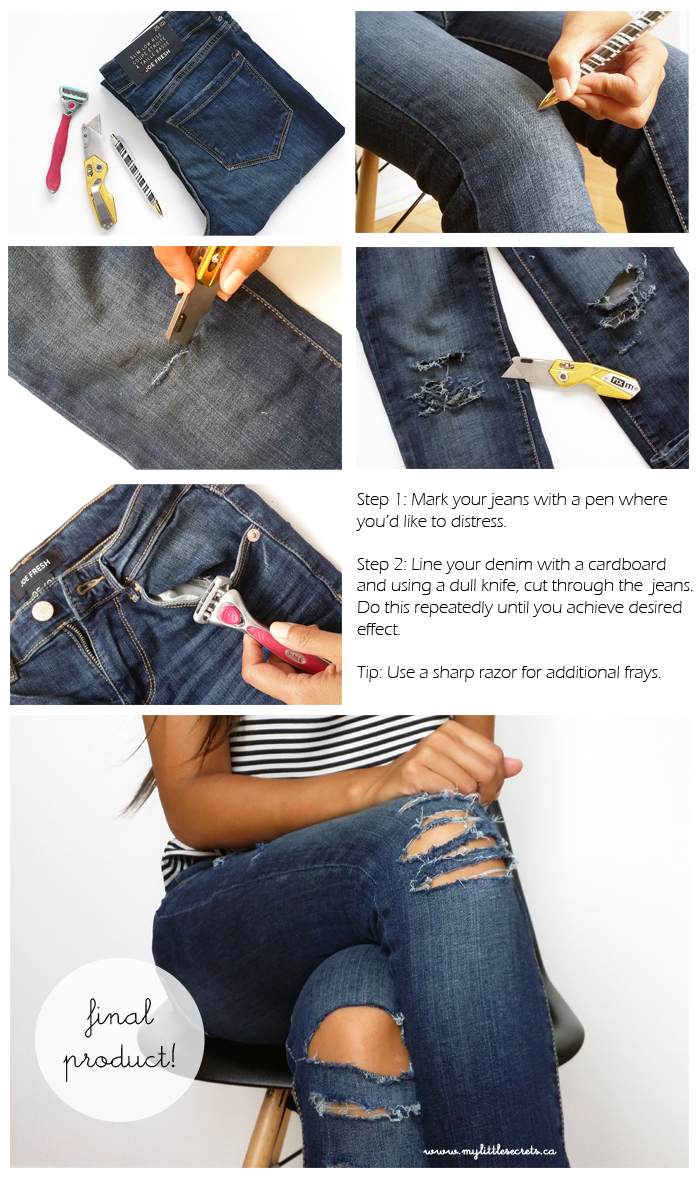
2. DIY Distressed (Ripped) Denim
3. DIY Stencil (star print) Denim
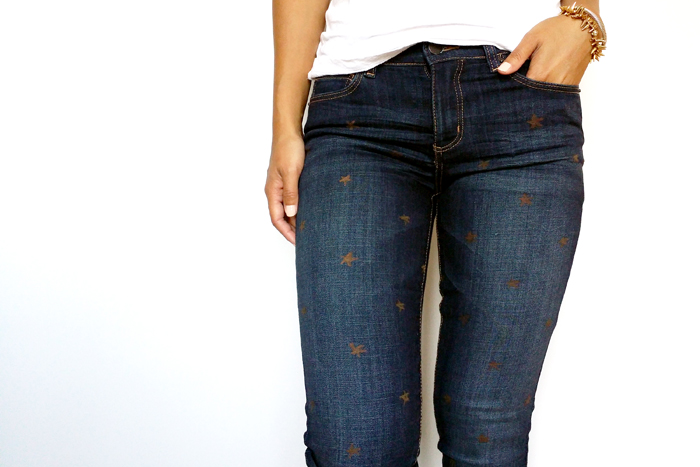
The tutorial to these DIY stencil, star print denim can be found here. Except I replaced fabric paint and a stencil with a fabric sharpie marker, but the tutorial is essentially the same!
I hope you have a ton of fun with these and it’s the perfect way to jazz up an old pair of jeans or visit your nearest Joe Fresh store for a selection of affordable and super comfortable jeans.
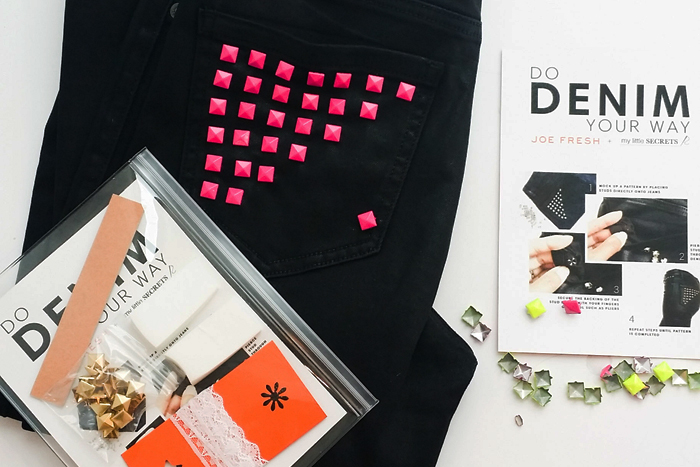
I’ve got a few more DIY denim kits left, each containing a few DIY supplies and a 20% discount card that can be used at the Queen + Portland, Toronto flagship store. First 5 people to comment, I will mail it to you (must be in Toronto).


13 comments
These kits are so cute! I’d love one!
Love the way you’ve done all three of these! Some great fall looks. Thanks for posting the how to!
Great DYI projects, can’t wait to try out on some joe fresh jeans.
Oooh! Me! I can’t wait to try the DIY. Great job on the three looks.
Love these fun ideas for personalizing your old or new jeans!
[…] source […]
[…] source […]
[…] source […]
[…] source […]
[…] source […]
[…] source […]
[…] source […]
[…] DIY Distressed Jeans: Distressed jeans are all the rage right now, and if you have a pair you wouldn’t mind […]