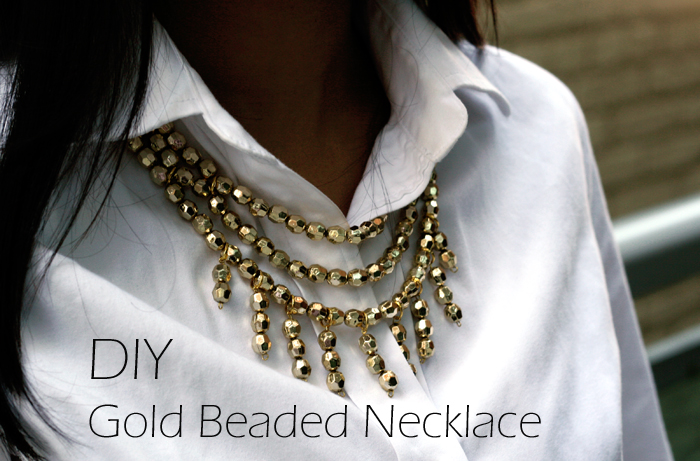
I love wearing statement necklaces! Sometimes they can get a little bit pricey. Either that or I can’t find exactly the style or colour combination I’m looking for. Therefore I decided to try my own Gold Beaded version. It was fun, simple, and cost me less than $5.00!
DIY necklaces are so much fun! Give one a try sometime! Use other beads, colours and combine with other findings!
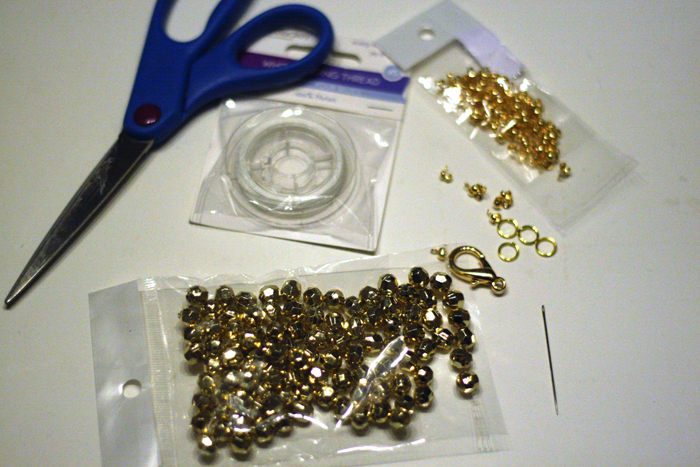
- 100 – 200 gold tone beads (mine came in a pack of 100 for $1.35 at a local craft store)
- White beading thread
- Needle
- Jump rings
- 6 Knot ends
- Jewelry Wire
- Pliers
- Scissors
1. Measure the desired length for the strand of the necklace that will be closest to your neck base.
2. Cut a strand of thread that is double the length of what you measured in #1 (plus a few inches longer), thread a needle through and tie a knot several times at the end.
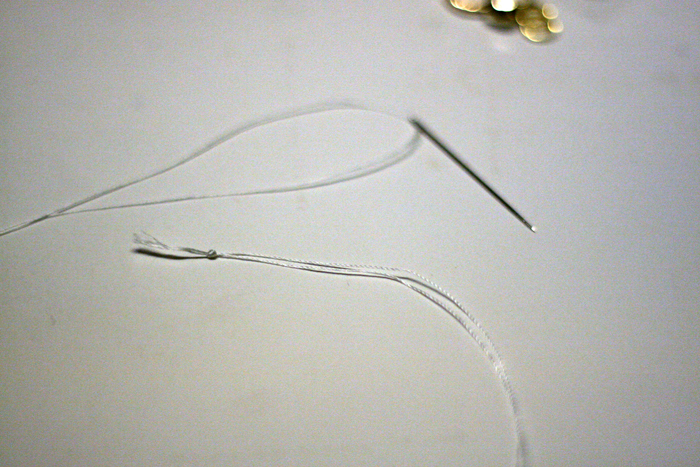
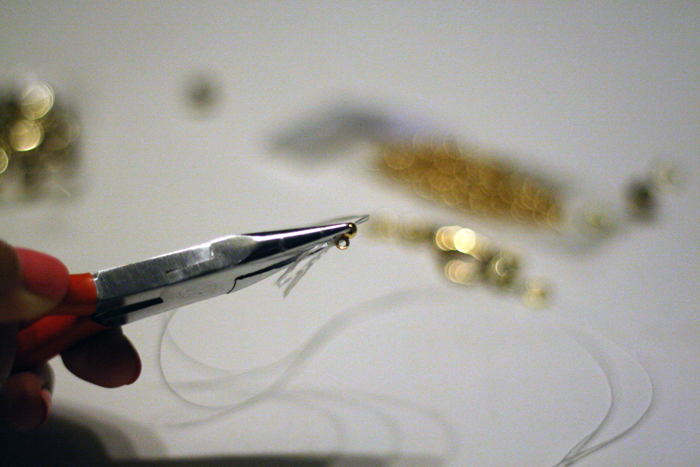
3. Place the knot you tied inside the knot end and secure with a set of pliers.
4. Trim the excess thread with scissors.
5. Start threading beads through the with the needle.
6. Continue until you reach the end of the thread leaving about 2 inches of thread and tie a knot by looping your needle through the thread several times. Try your best to get the knot as close to the last bead as possible.
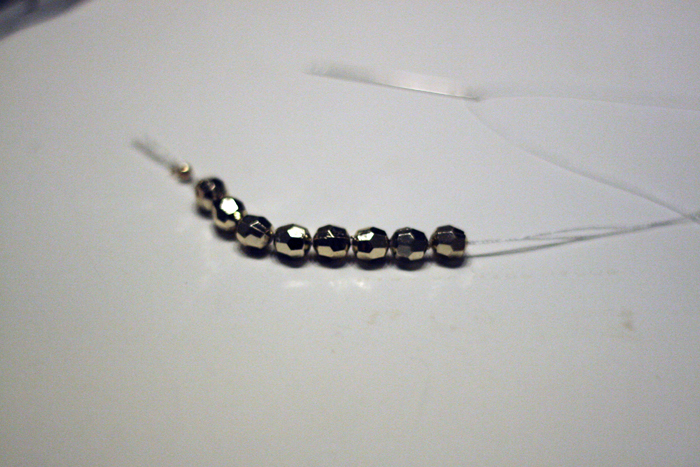
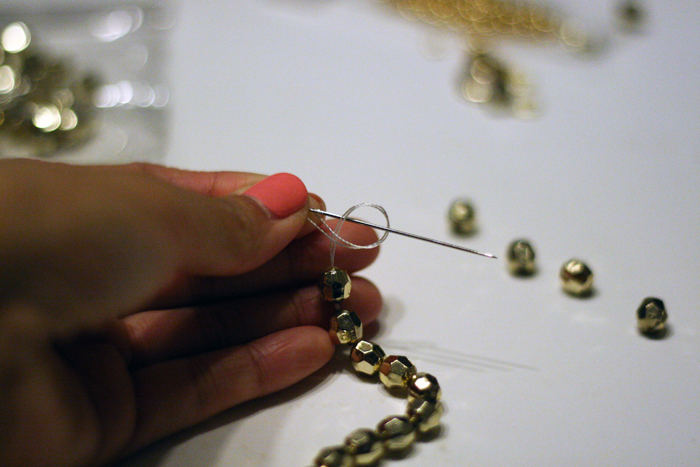
7. Once again, place the knot you tied into a knot end and secure with pliers.
8. Repeat the steps above for the other two strands, creating three beaded strands in total of various lengths (the length is totally up to you!)
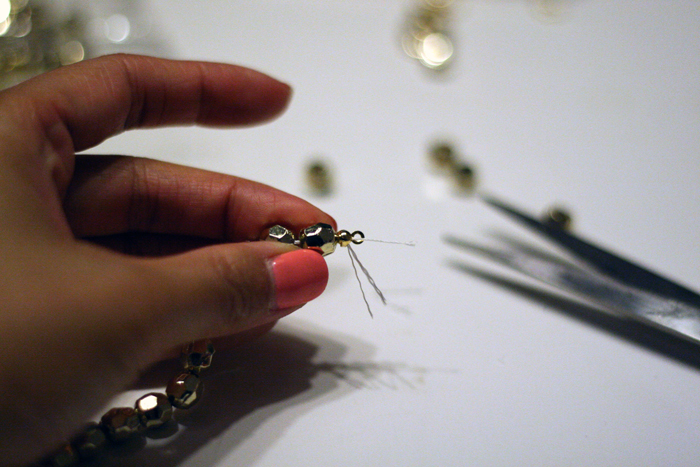
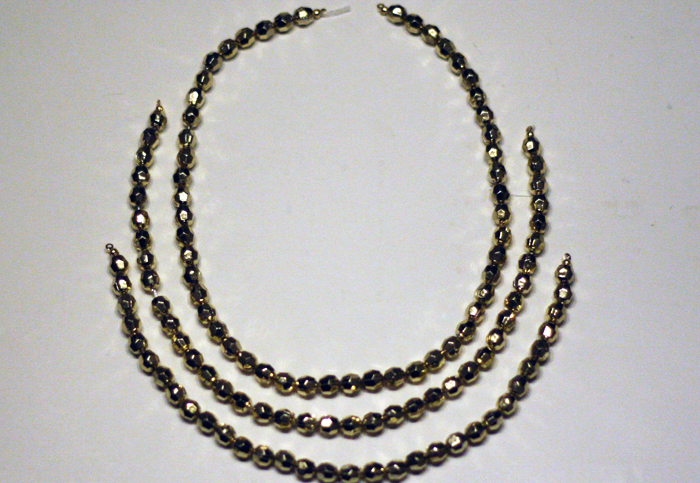
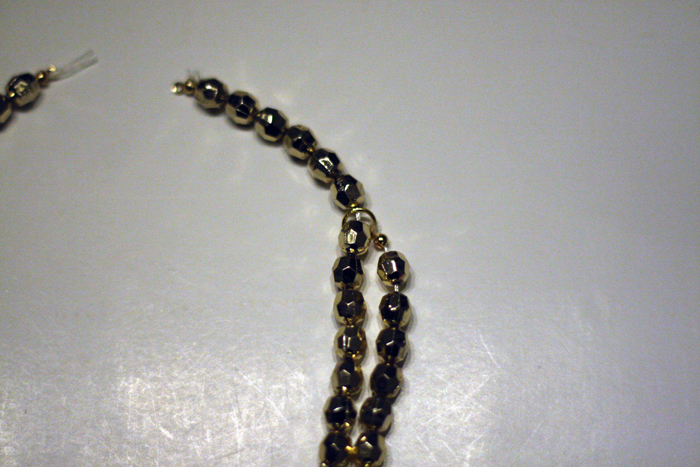
9. Place the second strand around the bottom of the first evenly. Secure the two strands by using jump rings as shown in the photo below. Repeat this for both sides and both strands of beads.
10. Create a drop pattern for your necklace. I decided to do a few cascading strands. You can be creative here!
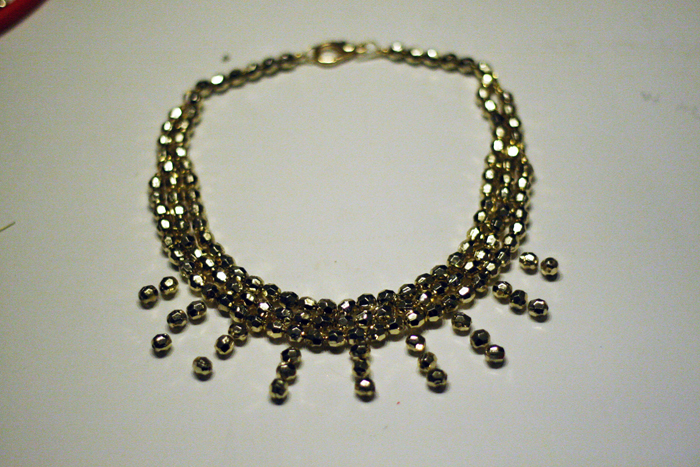
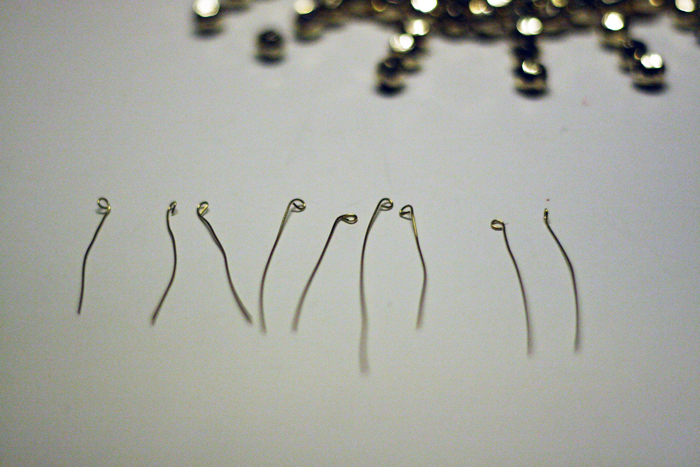
11. I needed 9 strands. Cut 9 strands of wire about 2 inches in length (this will also depend on the size of beads you purchase).
12. Take a set of pliers and create end loops as shown in the photo below.
13. Working each wire at a time, insert the wire through the beads.
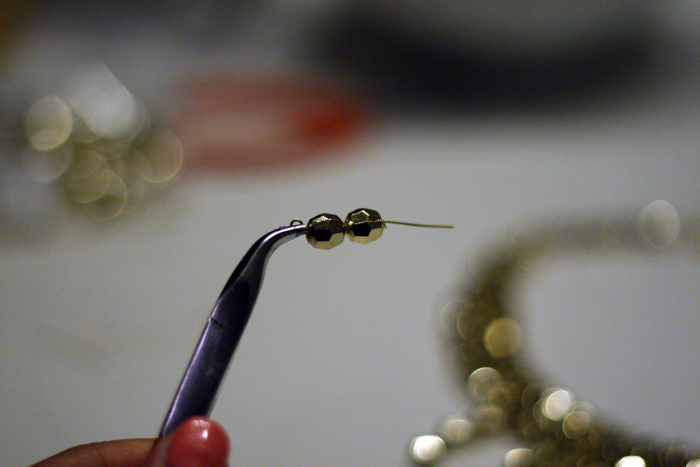
14. Secure the other side of each wire strand by creating the same type of loop with pliers (you will have to trim excess wire off with scissors before you contract the end loop).
15. Secure each strand to the necklace by spacing them two beads apart using jump rings.
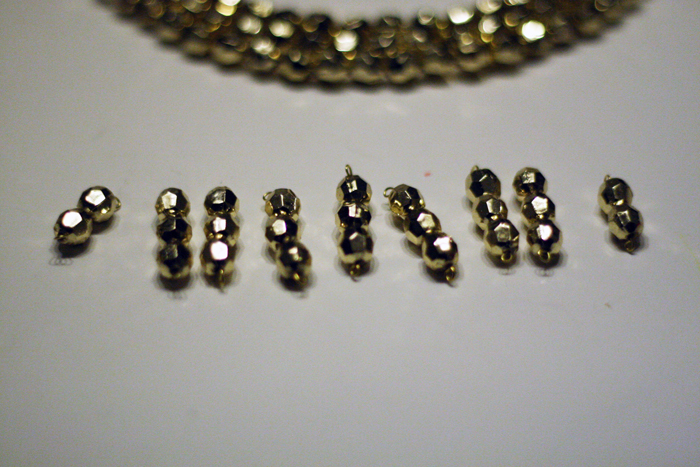
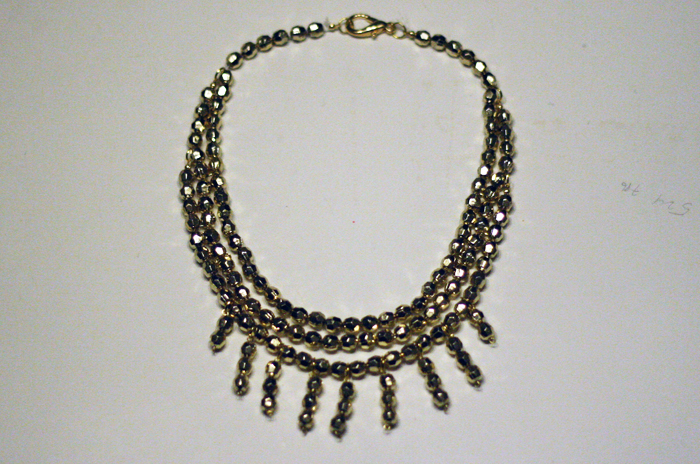
Here you have it!! Bling bling in less than 30 minutes and less than $5.00!
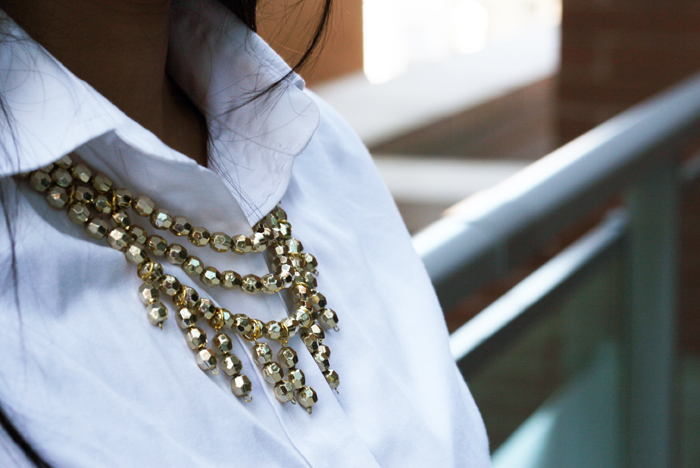
What DIY projects would you like to see more of? Please do share with me so I can create them for you!
I’m running a giveaway next week on a pair of CAT footwear, be sure to check back! Also, if you didn’t get to catch my last DIY Inspiration post on Alexander Wang’s Aline heels, please check it out, I’m dying for someone to try it! Check out Geneva’s version from A Pair and A Spare (thanks to one of my readers for sharing!)!

2 comments
The necklace looks great with your white shirt I personally am really into bracelets and rings at the moment.
That’s actually ingenious project and i really love all your inspirations on making jewelry accessories!
Additionally, i’m editor April Young from pandahall! We actually agree and appreciate your ways design and diy jewelry. So, we’d like to ask for your permission to reprint and share your tutorials in our learning center,with proper attribution, of course!
By the way, it may be even better if you can accept our invitation as being a signed contributor to our site! Each post will be paid!
Hope your replay ASAP!O(∩_∩)O