I was provided product by BEHR to write this post but the thoughts and opinions expressed are my own.
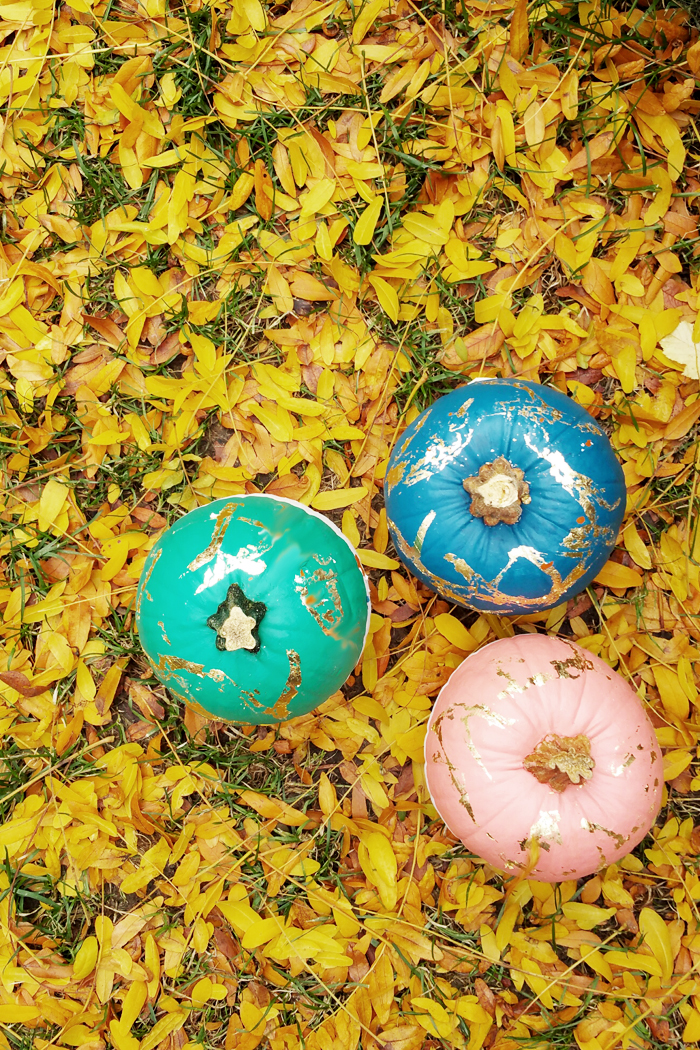
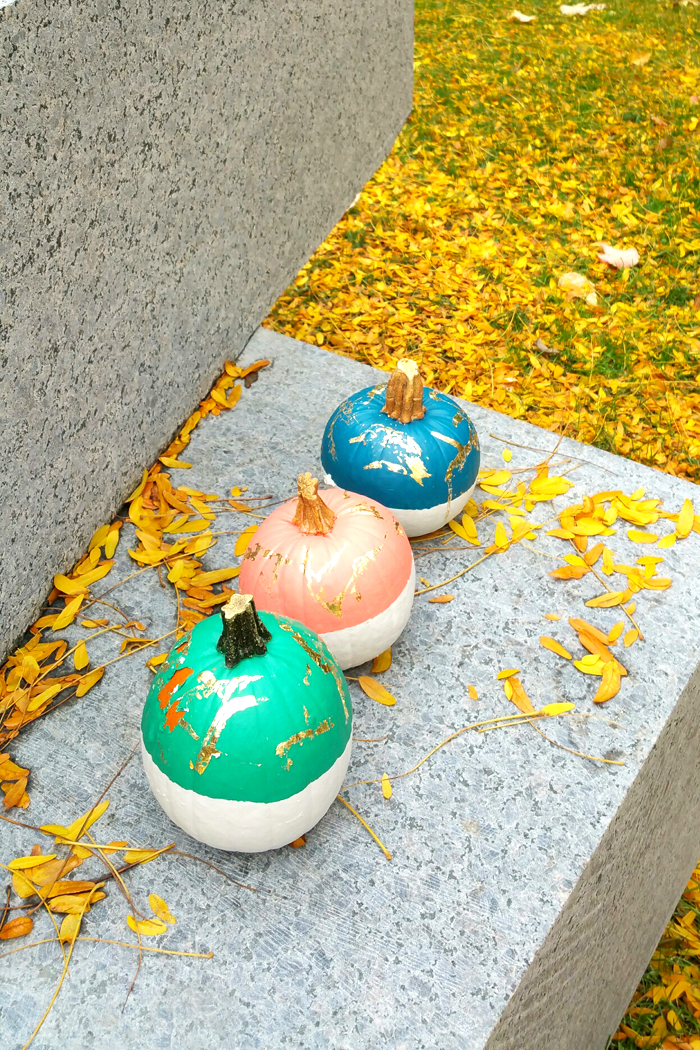
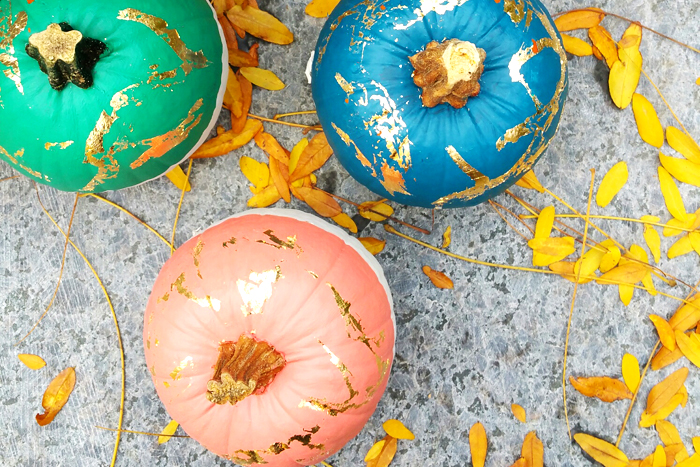
Happy Halloweekend! Whether you’re frantically getting ready for Halloween or looking for fresh Fall decorating ideas, these DIY Gold Leaf Painted Pumpkins are the perfect way to add an extra flare to your doorstep or window sill. When the BEHR 2016 Color Trends were released, I fell in love with pretty much every single colour which led me to order a sample of each, literally! With miniature pumpkins in hand, I was determined to showcase a few of my most favourite from the Color Trends list.
Read further to learn how to create your own Gold Leaf Painted Pumpkins in just a few simple steps!

What You Will Need:
- Pumpkins
- BEHR Paint – I used: Bowstring (for bottom half), Emperor’s Silk T16-03, Galapagos T16-04, Coraletter T16-07
- Gold Leaf Kit
- Paint Brush
Steps:
- Clean and dry the surface of each pumpkin
- Paint the bottom half in your base colour and let dry
- Apply painter’s tape to create a divide (note: some paint may come off when you remove the tape, you can simply do a quick touch up)
- Paint the top half with your favourite colour and let dry
- Follow directions on your Gold Leaf Kit and apply as desired


Hope your enjoyed this super easy and fun DIY tutorial! Be sure to check out more of my BEHR Paint projects for more inspiration! I wish you a Happy Halloween!

1 comment
Those are some pretty punkins! Gotta try this!