Lightweight sweaters are my staples during the fall season. The weather during this time of the year in Toronto is very unpredictable, lightweight sweaters are great for layering and perfect on its own. After seeing this ASOS version and inspired by this DIY version from HonestlyWTF, I decided to tackle a version of my own with this season’s favourite burgundy plum color.
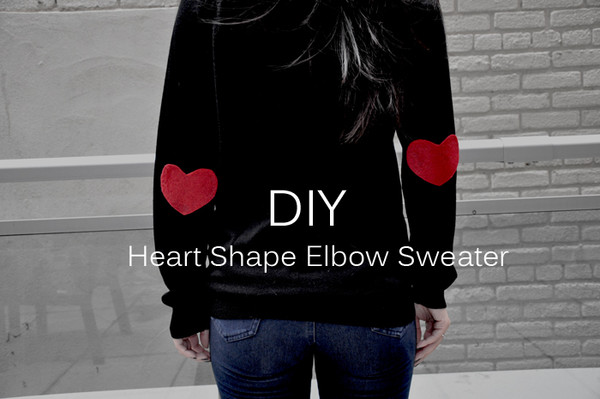
I opted for a super easy and super inexpensive version and opted for felt fabric we’re all accustomed to from our childhood craft projects.
Here is what you will need:
- a lightweight sweater (I got mine from Joe Fresh in black)
- Jewel-It glue (I got mine from Michael’s)
- a piece of felt fabric in your favorite color (I got mine from The Dollar Store, 3 for $1)
- tape
- scissors
- pen
- a piece of paper

Start by folding a piece of paper in half then tracing half a heart shape onto the paper. Trace until you’re happy with your heart shape then cut it out.
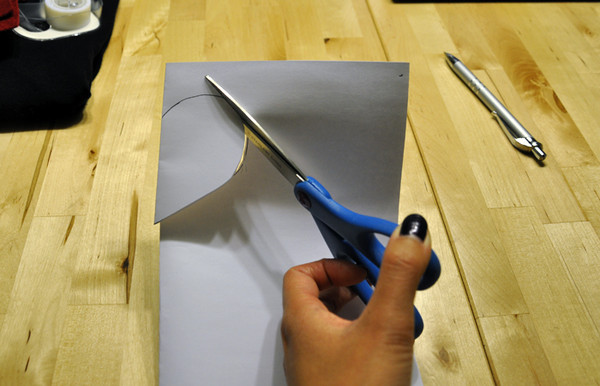
Open up your heart shape and see if you’re happy with it.
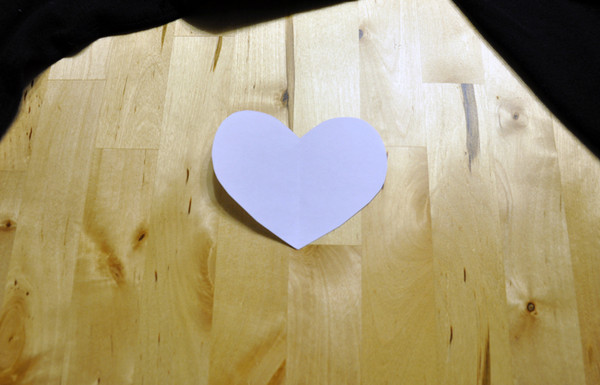
If so, do the same with your felt fabric, fold a section over and trace half the heart shape with a pen. Do this twice and cut out your heart shapes.
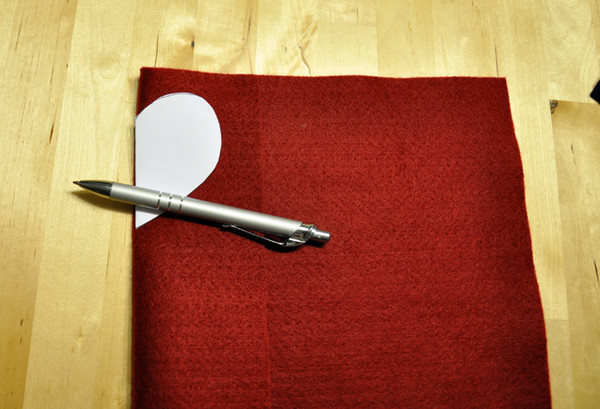
Open up your hearts and see if you’re happy with the shape.

Mark your sweater sleeve the with a piece of scotch tape where you want to position the bottom point of your heart.
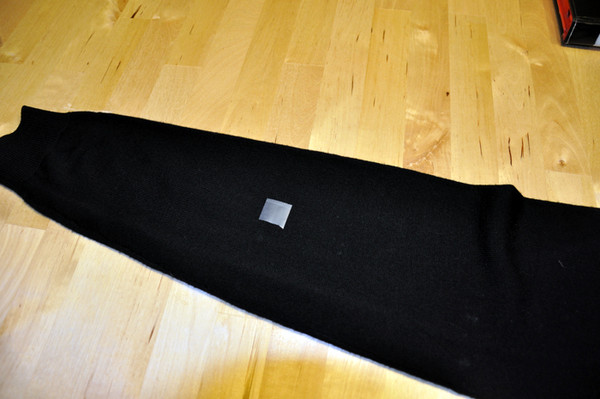
Squeeze the Jewel-It glue by tracing around the heart shape leaving a bit of an edge to allow for glue to spread. Use a q-tip to spread the glue on the heart. Be sure not to squeeze too much as you want to avoid glue getting through to the front side of the heart.
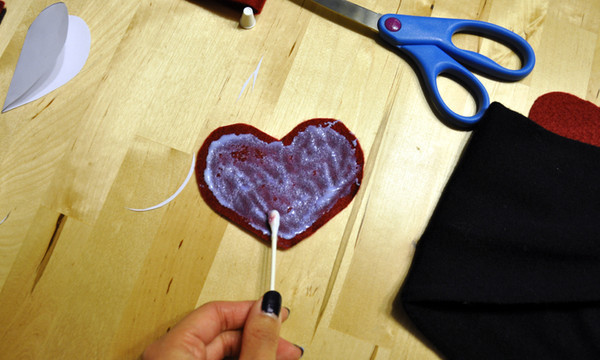
Start with the marked sleeve. Line the inside of the sleeve with a piece of paper to ensure glue doesn’t get through to the other side of the sleeve. Place the heart shape onto the sleeve and press down slightly. Wait 20 seconds and repeat on the other sleeve. Make sure your heart shapes are lined up evenly!
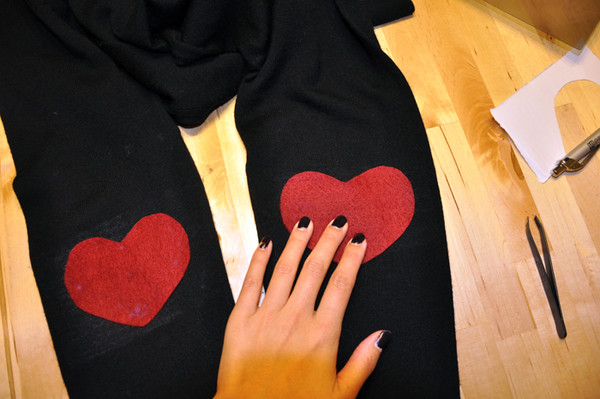
Allow for felt to set on the sweater for 12 hours before wearing. If you find that you didn’t get close enough to the edge of the heart, reapply a little bit more glue around the edges with a q-tip and wait for it to dry once again before wearing.
Here’s the final product!


1 comment
wow need more of this plssssss