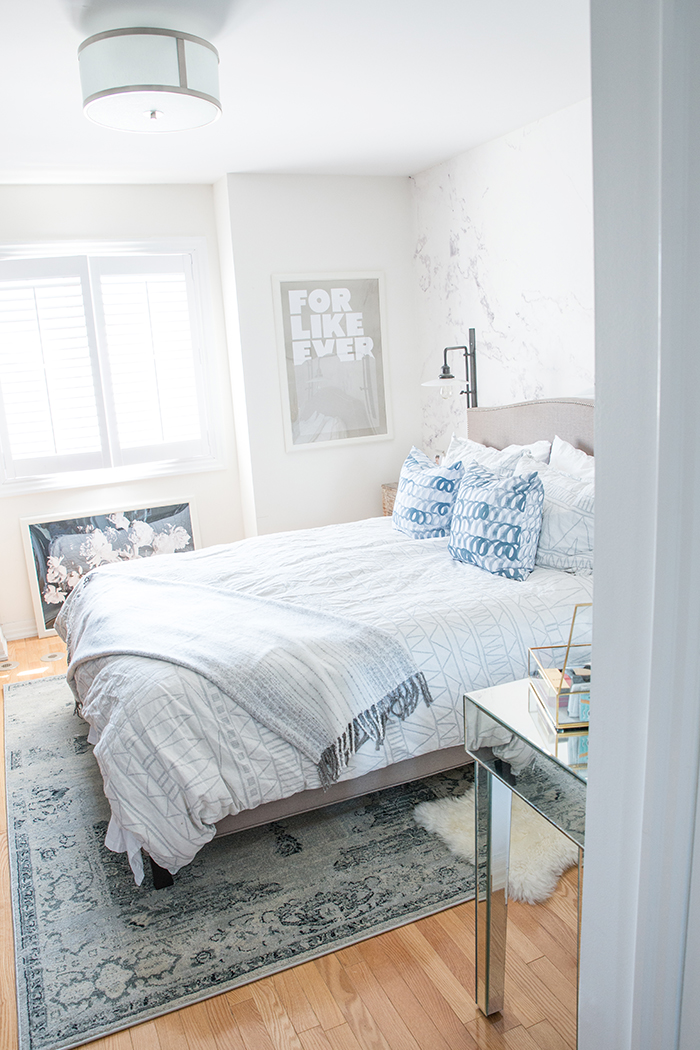
A couple months ago, I was experiencing back pains every morning, and finally decided to make the move to switch out our old mattress for a new one. Since mattress shopping isn’t entirely sexy, in fact, many people find it quite intimidating, I wrote about a few things I learned before bringing home a new mattress.
It’s been eight weeks since we brought home our Tempur-Pedic Embrace Collection mattress and I couldn’t be more satisfied with it! And to celebrate the beginning better sleep, I took the opportunity to refresh our bedroom with a mini makeover as well!
Keep reading for tips on achieving better snooze and my bedroom makeover details!
When you’re trying a new product for the first time, whether that’s makeup, skincare, or even a new diet, it’s important to give it some time to adjust to your body before jumping to judgement or conclusions. A mattress is no different. After 8 restful weeks, I’m finally ready to report back on my experiences with my new mattress.
I was well informed of the TEMPUR Adapt technology that this mattress had to offer which made it stood out from other memory foams. In fact, it is SO much more than that. Since it conformed to my body and provided support and comfort for all the grooves of my back, I’m happy to share that my back pains have reduced dramatically! I’m also happy to report that I can barely feel Kyle move around during the night, which was an extremely important must have. So many couples suffer from sleeping comfortably together and no doubt this mattress will at the least meet the ‘do not disturb’ checkbox item.
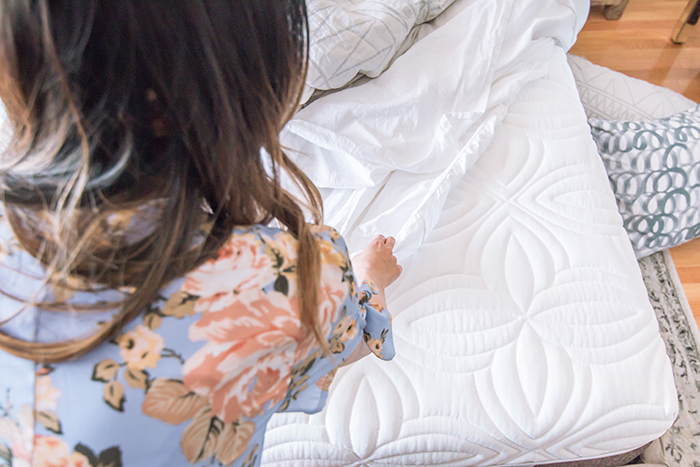
Unless you’ve slept on a Tempur-Pedic mattress, it’s incredibly hard to describe in words that ‘slow melt’ feeling the TEMPUR material provides. To me, if feels like floating on a very sturdy cloud that was made especially for me. At first, you may need a bit of time to get used to, but after a few nights, you’ll begin to realize that you can’t live without it.
The Embrace Collection is perfect if you’re looking for a medium soft comfort that provides plenty of support.
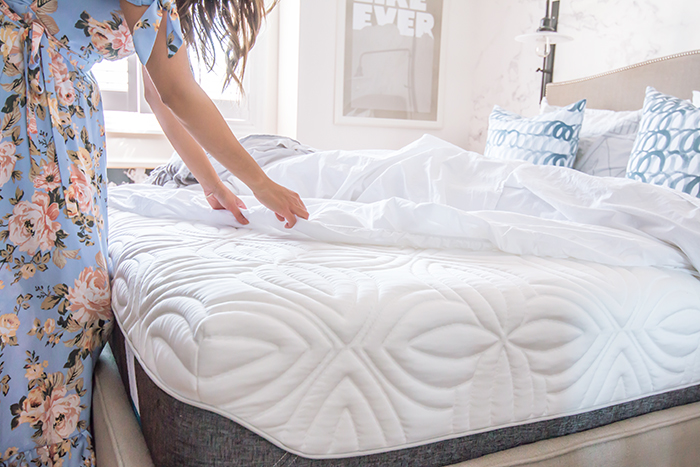
I particularly love the design and material of the mattress fabric cover (as pictured). It’s soft and silky to touch and also acts as a great protection layer for the mattress. I’m also convinced that the scalloped design and material plays an integral part in removing moisture and heat away from the body, ultimately contributing to better sleep.

It was only appropriate to say goodbye to my back pains with a new, fresh start to every morning so I managed to convince Kyle to work on a mini bedroom makeover with me. Bedroom makeovers don’t have to be a major undertaking. Sometimes a fresh layer of paint or a new rug can make a dramatic difference.
Here, I share a few must haves for your own mini-bedroom makeover that will add instant impact!
Mini Bedroom Makeover Check List
- Refresh the walls with a high impact wallpaper
- Update existing bedding to a contemporary design
- Add one of a kind decorative pillows
- Hang your favourite large art prints
- Select a rug for comfort
Selecting a Rug
I must have contemplated for about a whole week on what size rug to get. We have a queen size bed, but our bedroom isn’t all that big. It all comes down to allowing for enough space around the perimeter to walk on. The worst case would be have just about a few inches peaking out underneath your bed, because that would be silly and serves no purpose at all. If you have night stands, you’ll also want to ask yourself if you’d like your rug to sit under those, creating almost a zone for your entire sleeping area.
Since I didn’t have all that much room, I ended up with one that was 5’3″ x 7’7″ which fit perfectly under our bed. I’m quite happy with this size, though I did wish it was a tad wider. But, hey, it’s not always going to be perfect right?!

Applying Wallpaper Tips
A few of you have asked about the level of difficulty in terms of putting up wallpaper after I posted a short glimpse via my IG stories. The marble mural I selected came pre-pasted and numbered. It was honestly as easy as it comes. All we had to do was roll each piece inside out (i.e. so that the glue side was exposed), submerge each numbered piece into a tray of water one at a time and slowly pull it out and apply onto the wall. We obviously got better as we continued the process.
If I were to give a few tips, I’d say, definitely have two people on the job, it’s almost entirely impossible to do it by yourself. I’d also say when you start to apply the next panel, line up the long edge to the previous panel first before working your way across. Lastly, if you’re ordering custom wallpaper, be aware that the width of the panels are likely not standard sized which means that the standard wallpaper trays at the home improvement stores will likely not work. We made that mistake. We ended up purchasing a giant plastic storage bin to soak our paper in.
It’s a bit more work then a coat of paint, but the results are SO worth it! A special thanks to anewall for gifting us such a stunner.
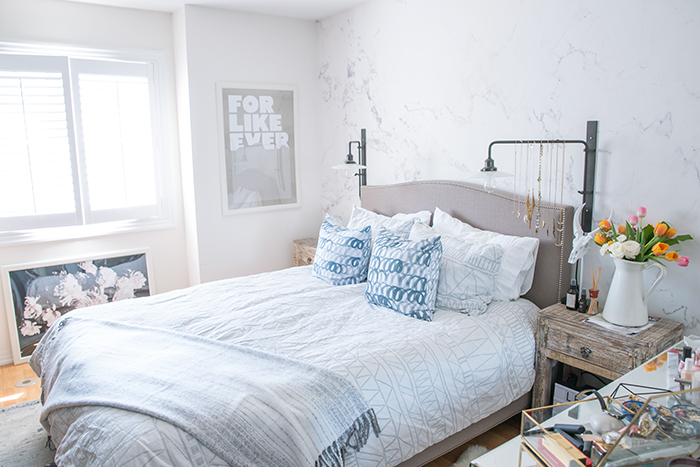

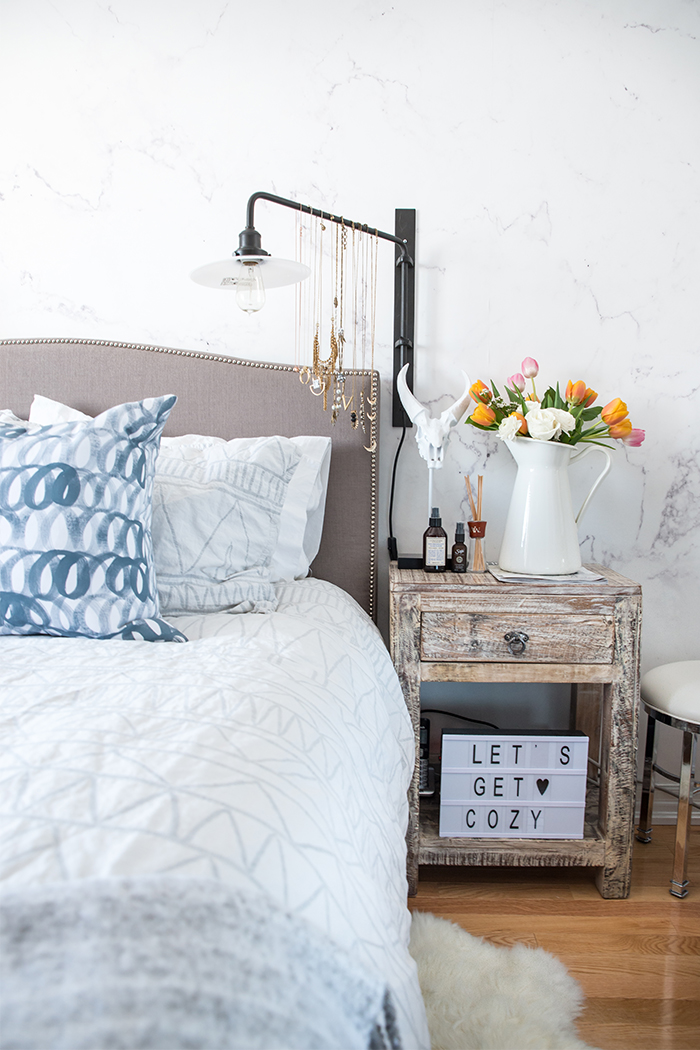
Shown above: Embrace Collection Queen Sized Mattress c/o Tempur-Pedic Canada / Marble Mural Wallpaper c/o anewall / Floral Wallpaper resized as art print c/o anewall / Cupcakes and Cashmere Queen Sized Duvet Set c/o Bed Bath & Beyond / Hand Painted Loop Pillows from Pepper B. Design / Rug from Wayfair / For Like Ever Print from Super Rural / Wall Lighting (old) from Restoration Hardware
If you’re considering a new mattress, I hope this post and my first one provided you with some extra comfort (pun intended!). If you have any questions for me, feel free to leave a comment or reach me via Instagram!
Disclaimer: This post was created in partnership with Tempur-pedic Canada but all views and opinions are my own. Tempur-pedic mattresses are available at Leon’s nationwide.

