Interested in improving your photography or editing skills in 2018?
Happy New Year friends! My first blog post of 2018 and I thought I’d kick it off with some goal-getting content! As a creator that relies heavily on the quality of my photos to capture YOUR attention, learning how to not only take great photos but how to edit them is equally critical.
When I decided to pursue blogging professionally five years ago, the first thing I did was enroll myself (and my husband, aka my part time photographer) in a proper photography class. I can’t tell you how much Kyle and I learned from the Photo 101 Class we attended at GTA Photography. We literally went from not knowing how to operate a DSLR camera to shooting with it on manual mode (properly) ever since.
Now, learning how to operate and shoot photos is just a component of great photography because it is rare that all stars are aligned when it comes to lighting, your subjects, and surroundings. You know those beautifully curated photos you see on Instagram? I promise you that most, if not ALL or them have been edited.
At the early stages of my photography journey, I used various mobile apps to edit my photos. The downside of that is, the quality of photos get diminished, which means that if you ever want to use those photos for print or for your website, well, good luck. Soon after I realized that mobile apps wasn’t going to cut it for me on my website, I started to dabble in Photoshop. Like many other people, I watched YouTube videos to assist me in learning the basics. Truth be told, up until this year, I’ve been using Photoshop to edit most of my photos. Though I was satisfied with some of my edits, I always found it difficult to create a consistent ‘look & feel’ one photo to the next, and I also found the process very time consuming.
In comes Lightroom! I was introduced to Lightroom by many fellow bloggers that were killing it when it came to editing their photos. I was so intrigued by applying “pre-sets’, copying and pasting editing settings and applying them across the map, and so many other function that Lightroom was capable of.
And so, just like my first experience with learning how to use a camera, I wanted to start with the basics and fundamentals, and I wanted someone (a real person) to teach me how! Since I had such a great experience with GTA Photography, I enrolled into Lightroom 101.
Guys, Best. Decision. Ever!
During the course of a weekend (a total of 8 hours), I learned about all the necessary elements to creating an awesome photo edit. We spent majority of the first few hours covering off importing, exporting, and handling photo file techniques. This was definitely super helpful because I think if I had gone with the self taught YouTube option, I wouldn’t have bothered with any of it!
We then spent the rest of the time, working through photo samples and applying the tools within the “Develop” module. We walked through nearly every single tool – Crop, Spot Removal, Graduated Filter, Radial Filter, Brush, Basic, Tone Curve, Split Toning, Detailing… OMG the list goes on! But most importantly, I finally figured out how to properly apply Presets and even save my own editing sets.
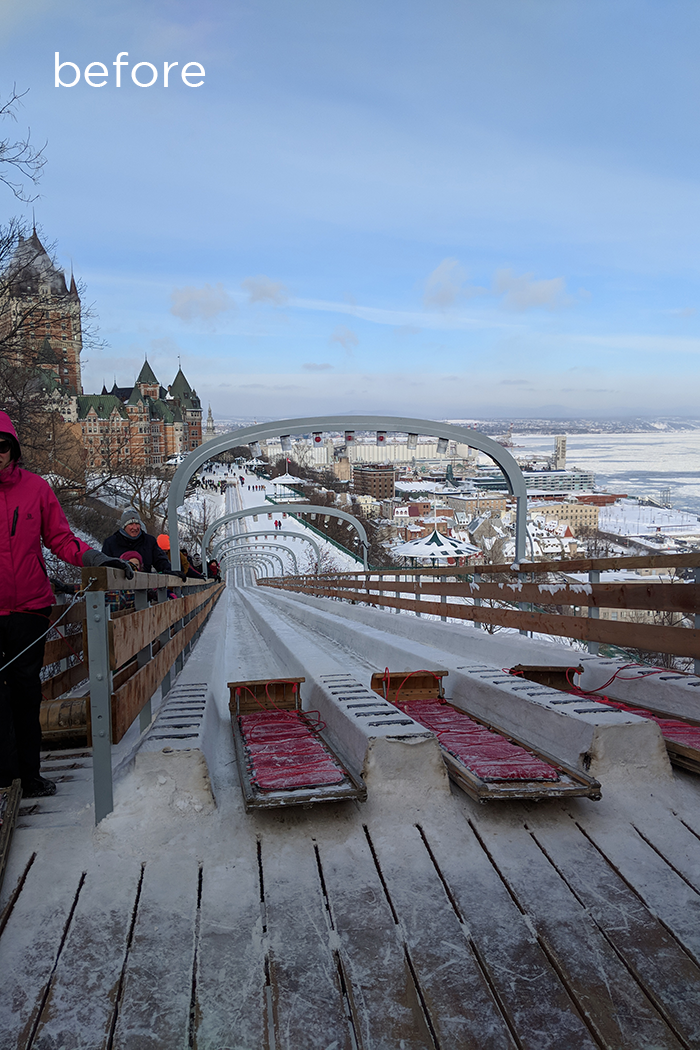
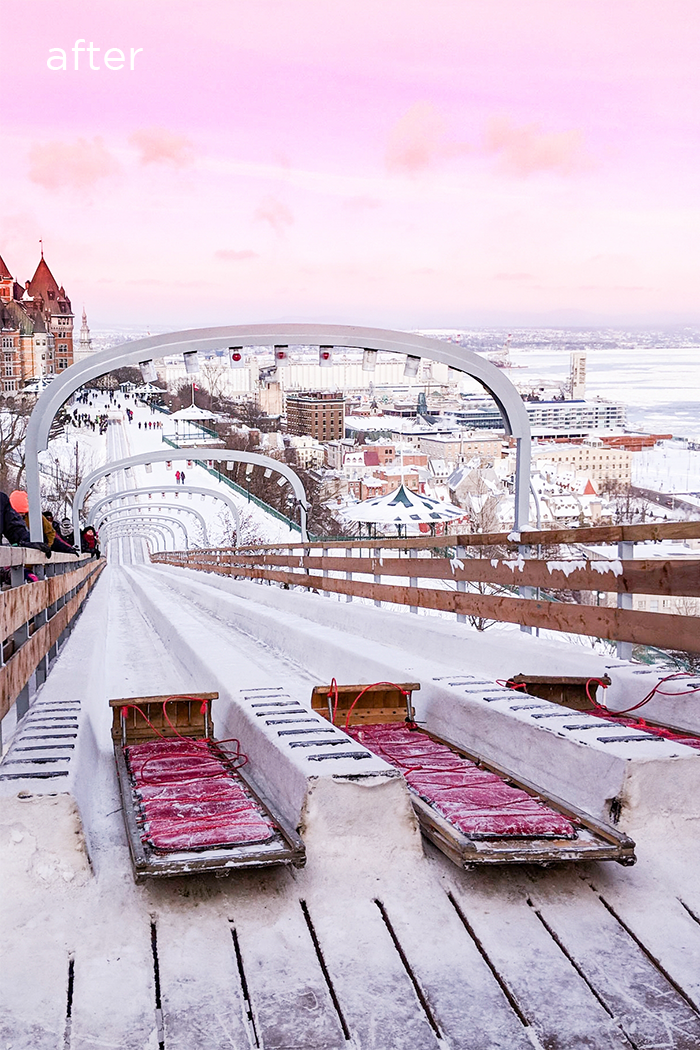
Below are some of my recent shots from my trip to Quebec City and what I was able to do to them after a bit of magic editing in Lightroom.
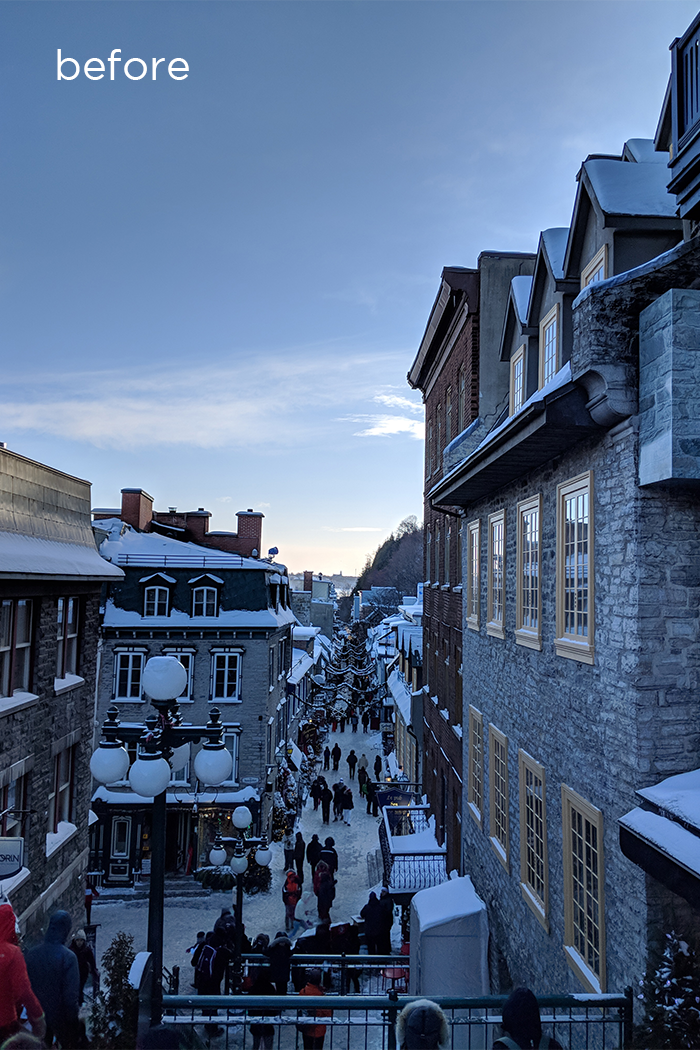
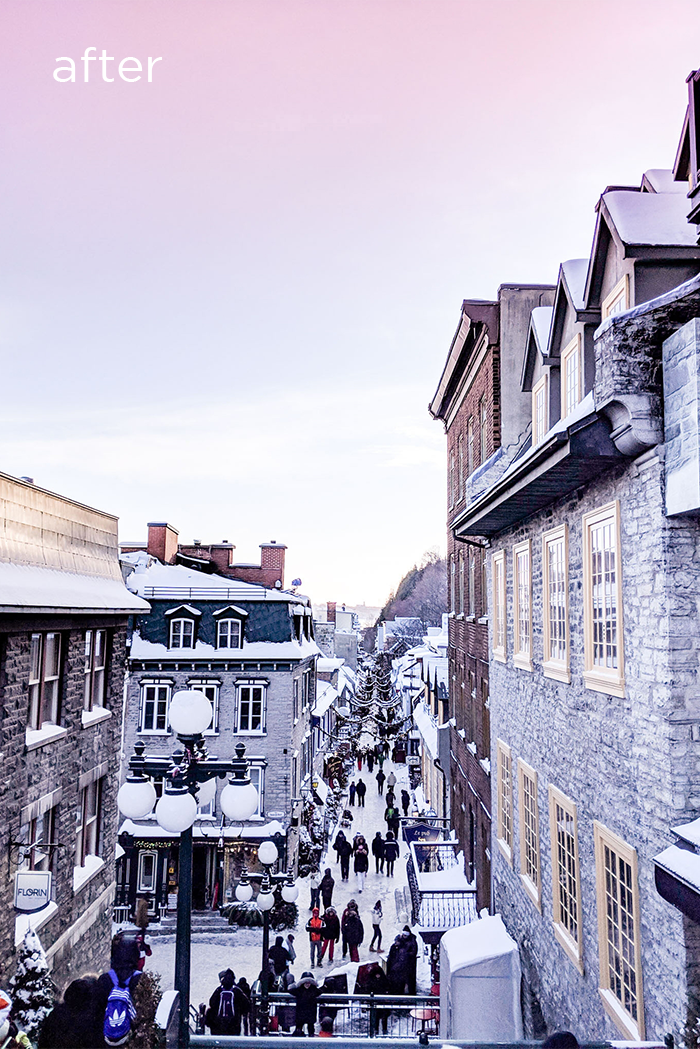
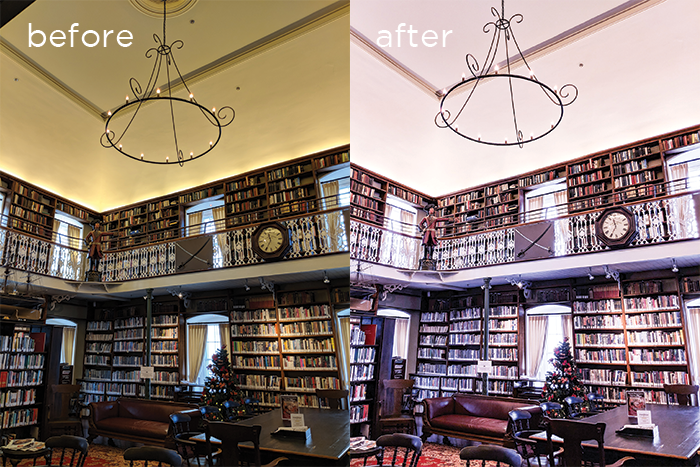
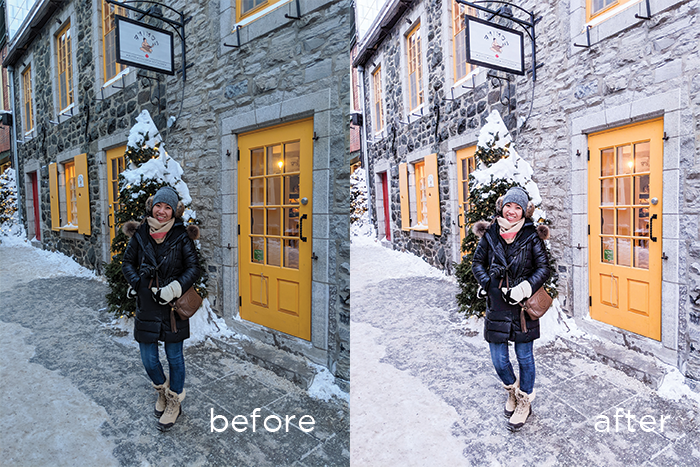
And since I like you all so much, here is a segment of Lightroom shortcuts that were shared with us during our class! I definitely don’t want to spoil it for you by sharing all the tips and tricks because I REALLY encourage you to experience this in person!
Most Commonly Used Lightroom Keyboard Shortcuts
Print ThisInstructions
Esc – Return to Previous View
Space or Enter – Go to Loupe or 1:1 View
Ctlr + – – Zoom Out
Ctlr + = – Zoom In
G – Grid Mode
C – Compare Mode
Ctrl + Shift + I – Import Images
Ctrl + Shift + E – Export Images
Ctrl + R – Show in Explorer
F2 – Rename File
Backspace – Remove from Library
F – Toggle Full Screen Preview
Shift + F – Toggle Screen Modes
Ctrl + [ – Rotate Image Left
Ctrl + ] – Rotate Image Right
Ctrl + E – Edit in Photoshop
Ctrl + Shift + C = Copy Develop Settings
Ctrl + Shift + V – Paste Develop Settings
Ctrl + U – Auto Tone
V – Convert to Black and White
R – Crop Mode
Q – Spot Removal Mode
M – Graduated Filter Mode
Y – Before and After (Left/Right)
Alt + Y – Before and After (Top/Bottom)
Notes
Enter the contest for your chance to win a FREE Lightroom 101 class from GTA Photography to learn about all these shortcuts plus many more or use code "MYLITTLESECRETS" This promo code will provide 15% OFF Photo 101, Photo 201, Photo 301, 4-Day Intensive Workshop, Lightroom 101 & Photoshop 101. Coupon code expires Wednesday, February 28, 2018. Visit the GTA Photography Website for more details.
When I took this class late last year and shared a few stories on Instagram, many of you responded with an interest in registering in this class as well. Guess what, now is your chance!!
Contest Details:
I’ve partnered with GTA Photography to give away ONE Lightroom 101 class, yippee! All you have to do is visit my Instagram Post. Contest ends Jan 12!
Best of luck!
And if you’re looking to save a few bucks on your enrollment, use promo code MYLITTLESECRETS. This promo code will provide 15% OFF Photo 101, Photo 201, Photo 301, 4-Day Intensive Workshop, Lightroom 101 & Photoshop 101. Coupon code expires Wednesday, February 28, 2018. Visit the GTA Photography Website for more details and full course descriptions.
If you have any questions at all about the classes, don’t hesitate to contact me!
Happy Editing!!

4 comments
Okay thinking I’m def going to try out photography 101! Thanks so much Nat!
Xx gab
Awesome Blog and ING Littlesecrets! I noticed you on the Marilyn Denise show and followed you ever since. I did notice you have a good eye for photography on Instagram I definitely will check Photography 101. One of my items on my wish list to do. I love photography and definitely need to master my DSLR camera. Thanks for the promotion!
Thank you so much! That just made my day!!! Enjoy the class if you end up taking it, I promise you it is well worth the time!!
Great Article! Lightroom is the best as is GTA Imaging 🙂